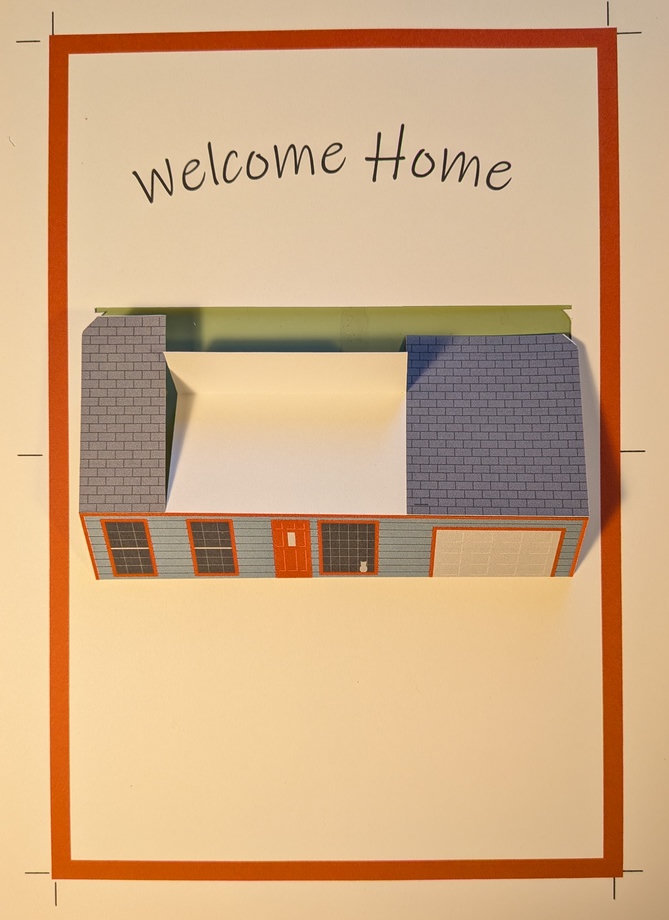
Howard Jr.’s New Home
Idea
Exciting news in the Wardinkle clan! Howard Jr. is now a proud new homeowner. To celebrate, I thought it would be fun to make a card of his new home.
I enjoy creating Origami Architecture (OA) cards, which are one-piece pop-ups made of nested parallelograms. There are many books on them, some of which I have listed here. In the past, I have made two of my own designs: Independence Hall, and one from a painting of a previous residence.
 Independence Hall, July 2014 Pop-up
 Previous residence, July 2016 Pop-up
Here’s a photo of Howard Jr.’s new home, the inspiration for this card.
 Howard Jr.’s new home
Design
As I mentioned, OA cards are usually one-piece, but with the porch overhang, I had to forgo making a true one-piece card. Instead, this is two main pieces: one for the main house and one for the porch (and a few more pieces).
I did one small sketch, then went to the computer to design the card. Here are all of them. The three in the back show different color options: 1) All white, which is rather traditional for OA cards, 2) Red trim only, and 3) Full color house.
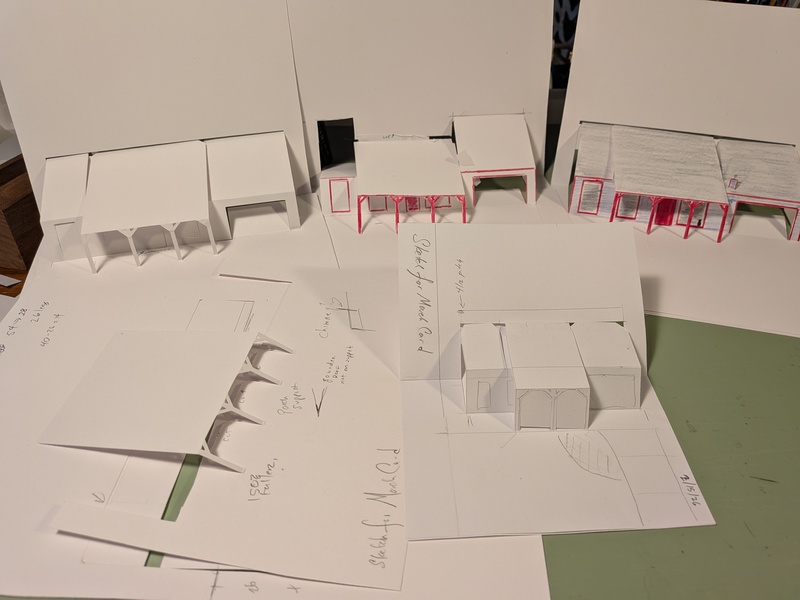 Sketches
I toyed with coloring the entire card with grass and trees, but thought that’d take away from the house, so I decided on just coloring the house. I used the Silhouette Cameo to cut out the large sketches, but its scan-and-cut feature is only accurate to about 1mm, which won’t work for this case where the cuts must be exactly on the edges of the printed areas. I had to print it out and cut everything by hand. The printout gave me nearly all of the cut lines. There are a few around the porch and roof that were not. To solve that, I printed a very thin, light gray line for cut lines, which would be invisible after they were cut.
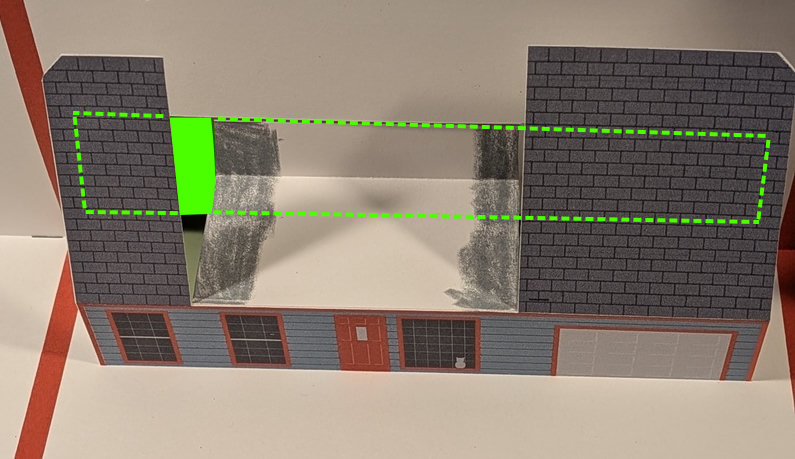
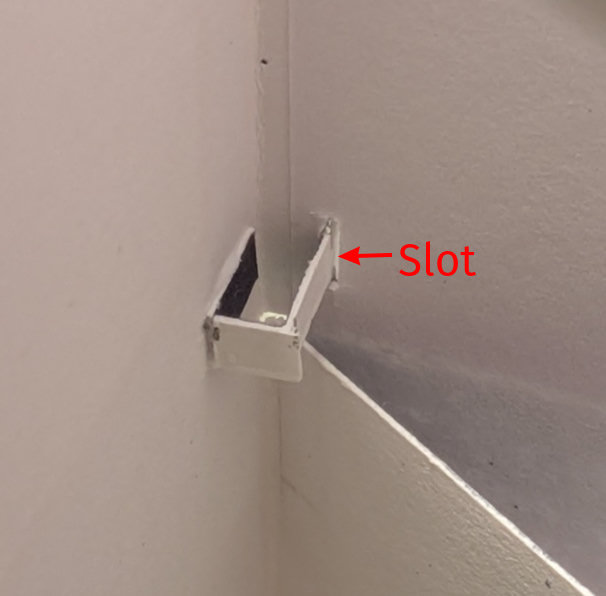
Buildings with sloped roofs require a different pop-up technique. Notice in the Independence Hall pop-up that there are slots in the back of the card to accept the sloping roofs. They can’t be attached to the back since they’re at an angle and wouldn’t fold if attached. Instead, as the card is closed, they push through the back of the card.
Here’s the house printout, cut and folded. It was pretty easy to cut by hand. The cut above the house is the slot for the sloped roof. (Notice none of the top edges are attached to the card. More on that later.)
 House with folds
The porch roof will go over the center section. One thing I noticed when assembling is that white edges showed under the porch roof, so I colored those areas with colored pencil. The loose paper in the photo will be attached to the left and right sections of the roof to keep them in place, and I’ll also attach the porch roof to it later.
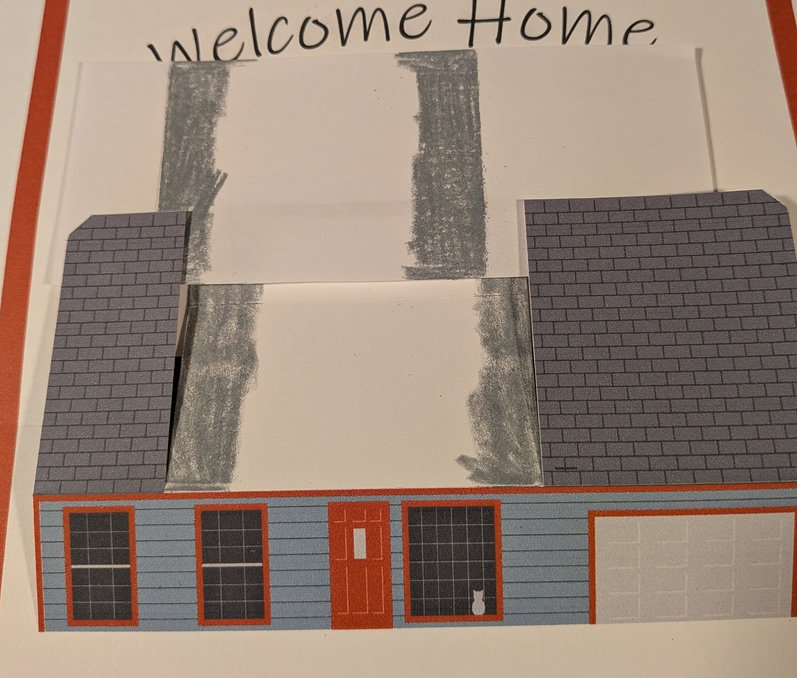 Coloring edges that may be seen
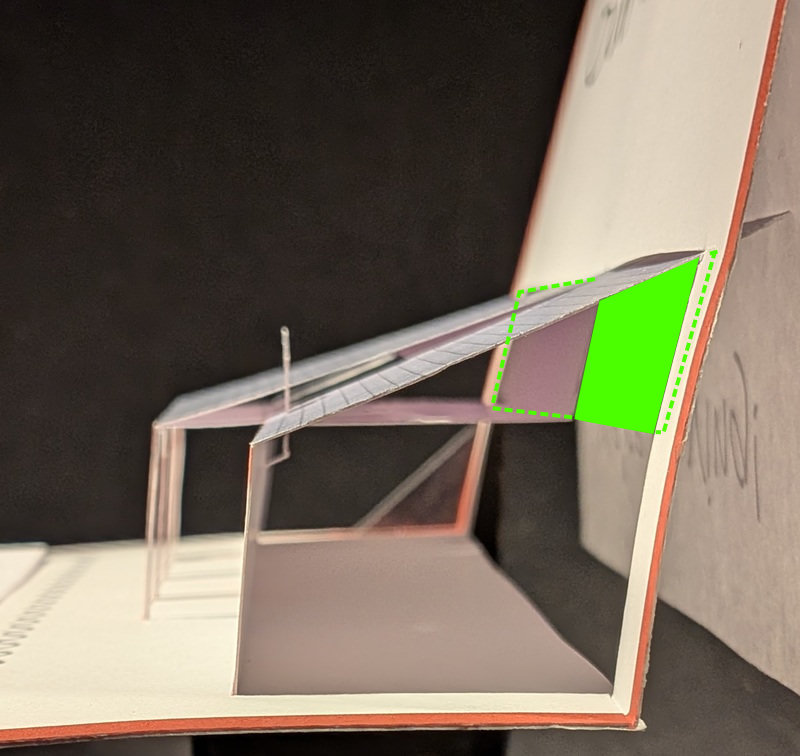
For the card to work, the house must be attached to the back of the card. Since the house and porch roofs go from one end to another, the slot on the back for the sloped roof must go end-to-end. That means the house isn’t attached to the back! Here’s another area where I had to deviate from the one-piece model. I added a piece of card across the back for the center section to attach to, as shown in green below. Now, as the card is opened, that center section raises up the house.
 House attached to the back
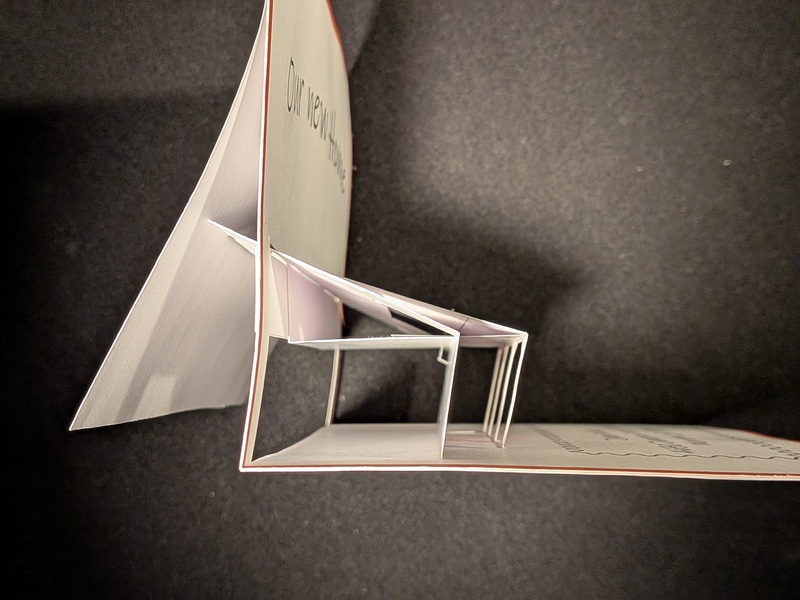
Here’s the side view showing the added support for the center section in green.
 Side view of the card
The porch has to break the one-piece model, so I wasn’t worried about the piece added for support. Here’s the porch cut out and ready to be attached. This was the trickiest part to cut by hand since the porch supports are thin and have the little triangles to cut out. (Maybe I should have let the machine do the cutting.)
 Porch cut and ready to attach
To lift the porch, it had to be attached to the back of the card. Recall I mentioned the piece of paper I glued between the house’s two roof sections? I attached the porch roof’s peak to that, making all the roof sections one piece. That way, as the card is opened, the porch is lifted as the roofs are lifted.
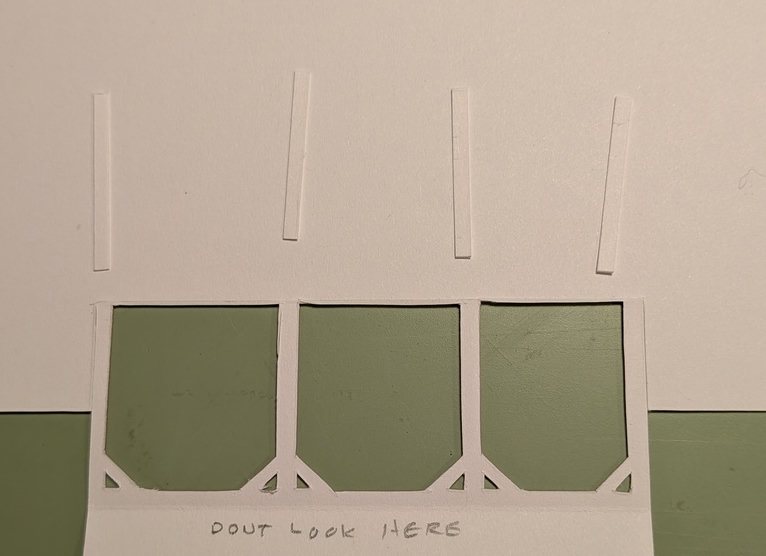
In the sketches, I had problems with the thin porch supports bending. To solve that, I glued extra pieces of card behind each one.
 Porch supports ready to be glued
Since I’m no longer making a one-piece card, why not add more with the chimney? This could have been cut out of the roof, which would have left a hole in it. This way it’s prettier. The small slot in the roof is for the chimney. You can see the chimney is folded the way it will need to be attached under the roof.
 Chimney
Here’s the view under the roof with the chimney glued in place. It makes a tiny parallelogram under the roof that lifts the chimney up as the card is opened.
 Chimney glued in place
When I made Independence Hall, the roofs were smaller, and when the card was closed, they stuck out a bit. I could use a loosely attached piece of paper on the cover and the card would open. With the larger roof on this card, it sticks out much more. Using a loose cover attached at the corners didn’t work.
In these three photos, you can see the roof pushing the cover (curved paper on the left) out quite a bit. I could only attach the cover at the top of the card, otherwise it was difficult to open.


 Roof sticking out as the card is opened
As you see, when the card is fully open it doesn’t stick out much, but it’s the intermediate positions as the card is opened that stick out far too much to allow a loosely attached cover to work.
The final card works well, even if the cover is a bit odd being attached only at the leading edge. Lesson learned about sloping roofs in pop-up cards.
Cover
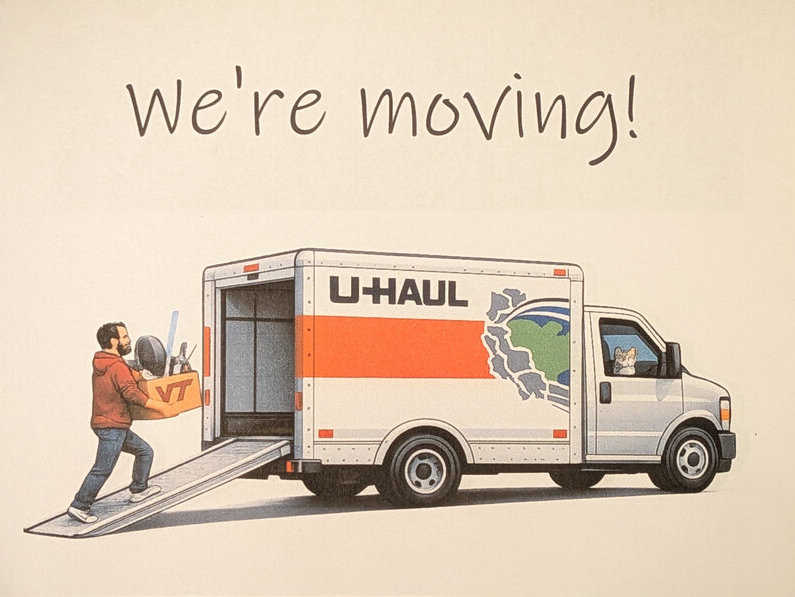
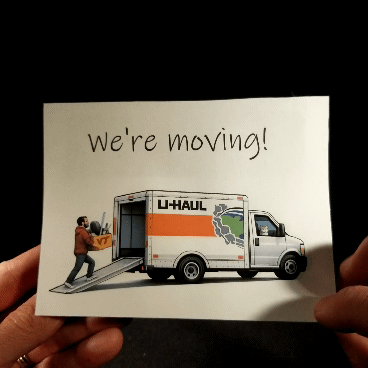
Thank you, ChatGPT, for the cover illustration.
Build
- 150mm x 120mm
- The mechanism is made from index paper.
- The cover is printer paper, only attached at the leading edge to allow the roof to stick out as the card is opened.
- Everything was designed on the computer, printed, then cut by hand.