Bee contest entry
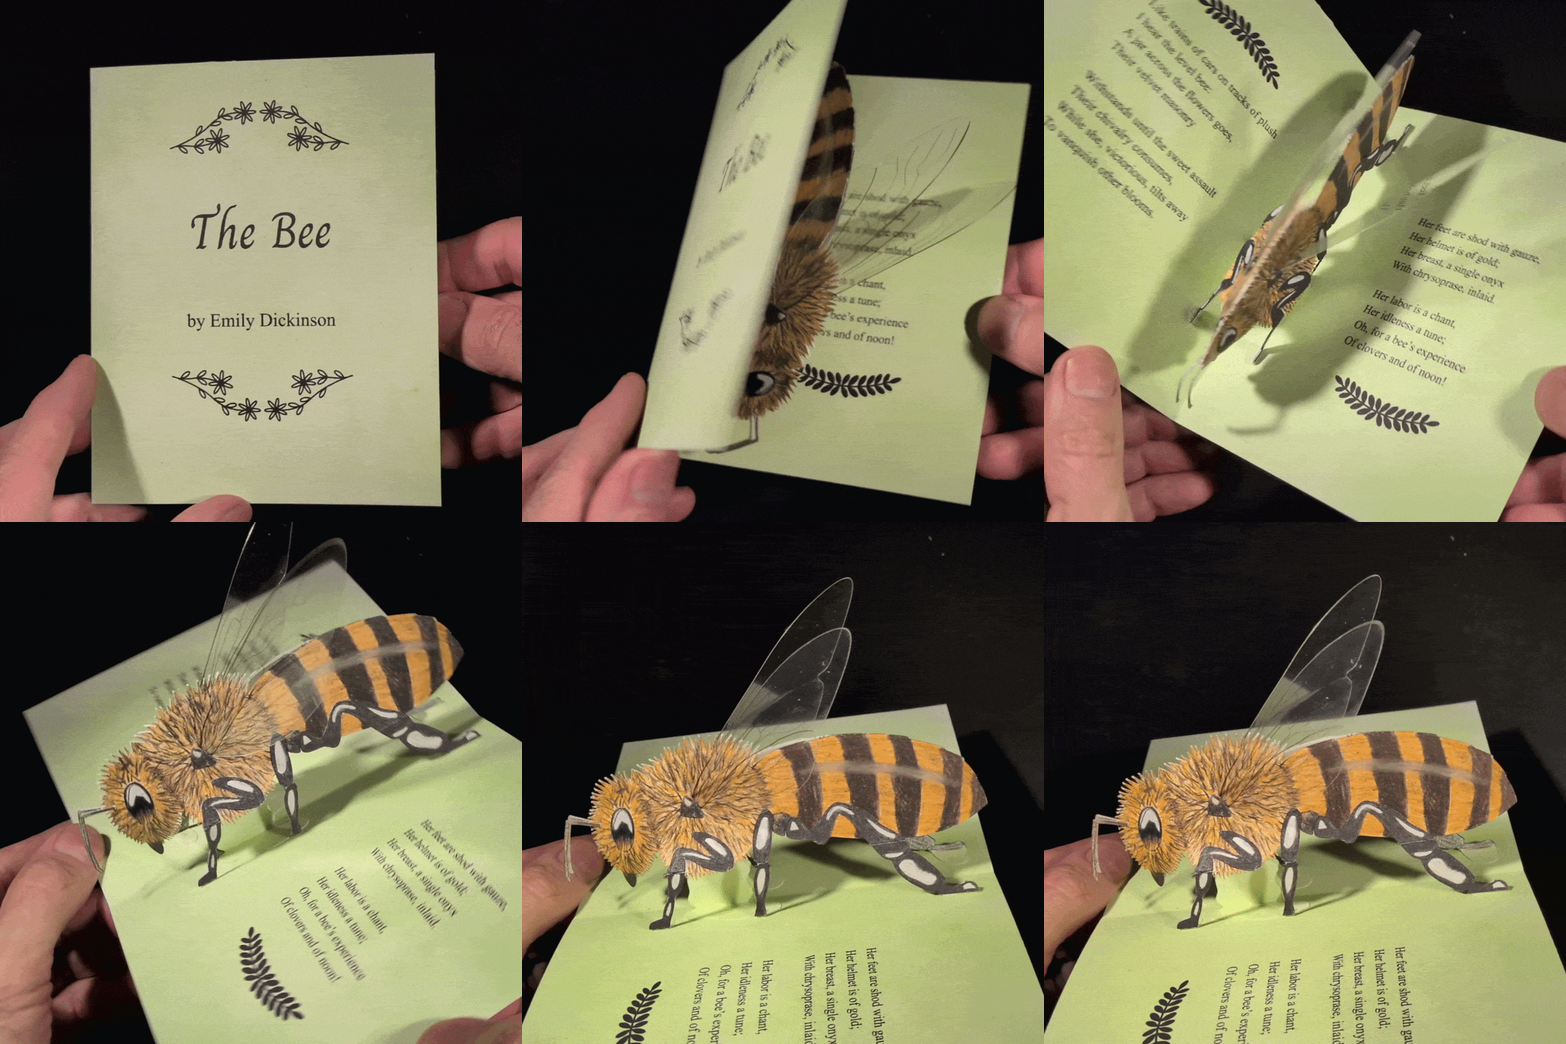
Idea
My local bee club has a contest every September. Categories include different types of honey, wax, candles, etc. There is also an “Original bee-related art ” category, and I decided to enter a pop-up card. My first idea was a bee flying into a flower, but I ended up making one large bee. For inspiration, I looked at the Beetles pop-up book by Reinhart and Sabuda.
To round out the design, I printed Emily Dickinson’s poem “The Bee” on the inside of the card. (I updated the poem to use female pronouns, since she didn’t know that worker bees are female.)
Design
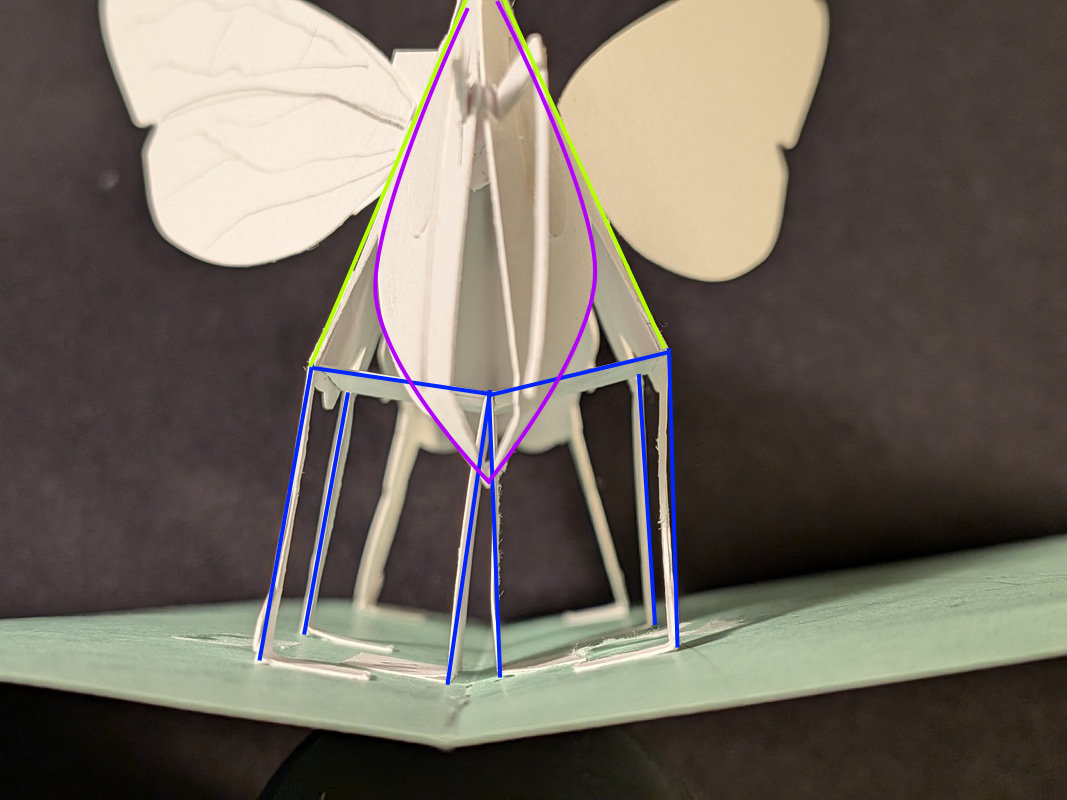
The basic mechanism is a floating plane with the bee’s legs as the outer supports. A parallel fold sits on the plane to form the bee’s body. The bee’s profile is one piece, and only the center (thorax) is attached to the plane. The head and rear (abdomen) are not connected to the plane. The idea is to form curved shapes as the card opens, even though the thorax will be a triangle.
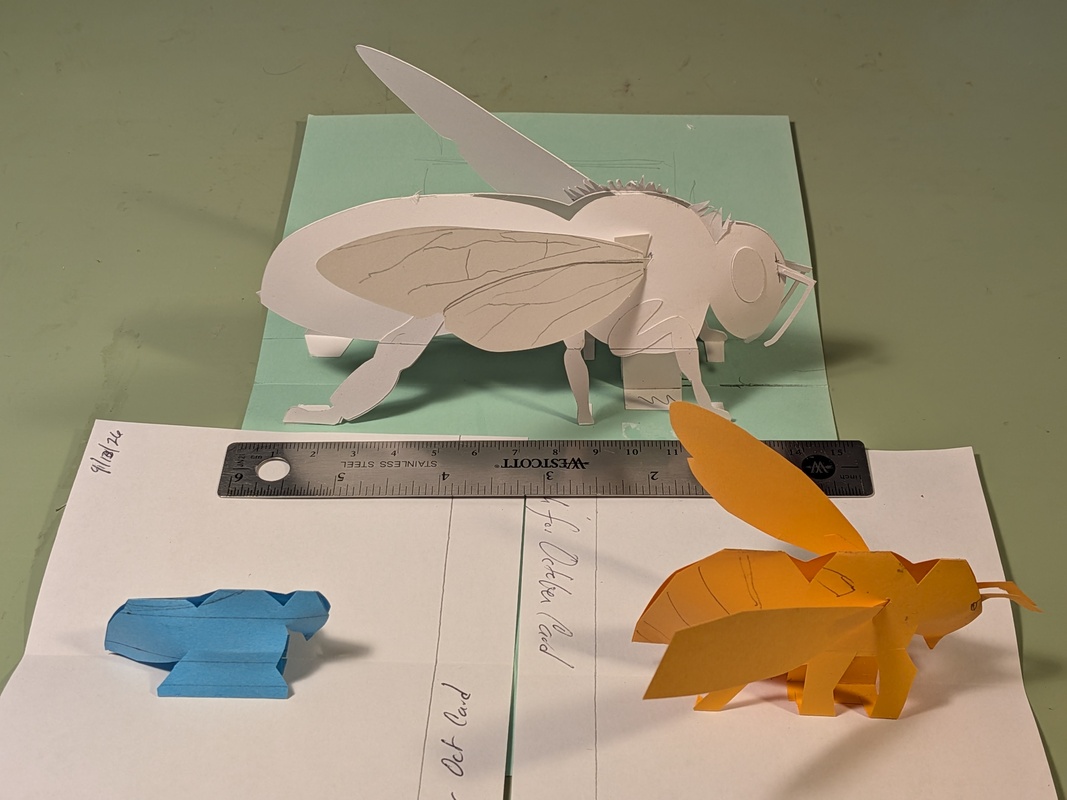
Here are three sketches of the mechanism. The blue one was first, then orange to get the proportions right and add the wings and antennae. The final, full-size version was designed on the computer and cut on by the Silhouette Cameo 5α.
 Sketches
The full-size sketch looked more like an ant than a bee since it wasn’t furry. You can see I added a bit of “fur” on the version above to see what it’d look like. I should have done another full-size sketch with the fur (that’s foreshadowing). The front view of the sketch shows the floating plane in blue with the triangle-shaped parallel fold above it in green. The purple is the curved head.
 Front view of the sketch
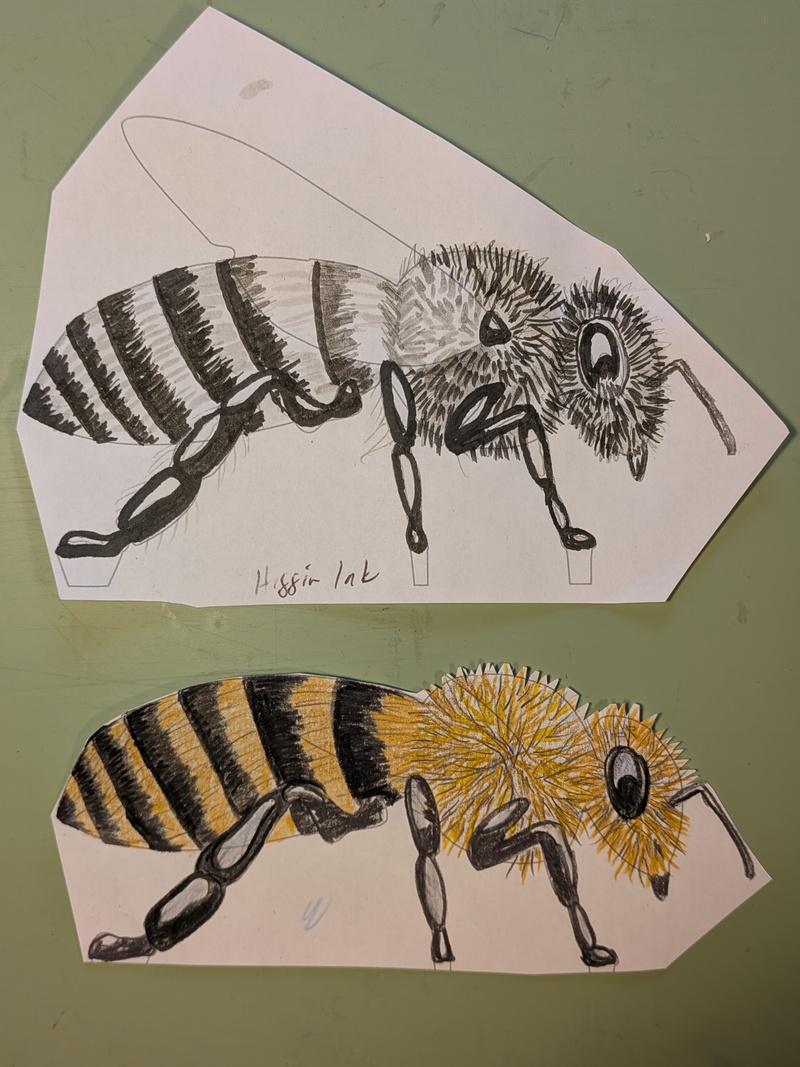
A plain white bee looked attractive, but I thought coloring it would be more interesting. I did a couple of sketches, with ink washes and colored pencils. I preferred the latter.
 B&W or color?
Here’s a photo of the two sides of the bee, mostly colored in. It took quite a while to finish all of that up. I was a bit trepidatious when it came to assembling, since if something went wrong, I might have to redo the coloring. (It’s not a mouse, so the quality isn’t as good as I’d like.)
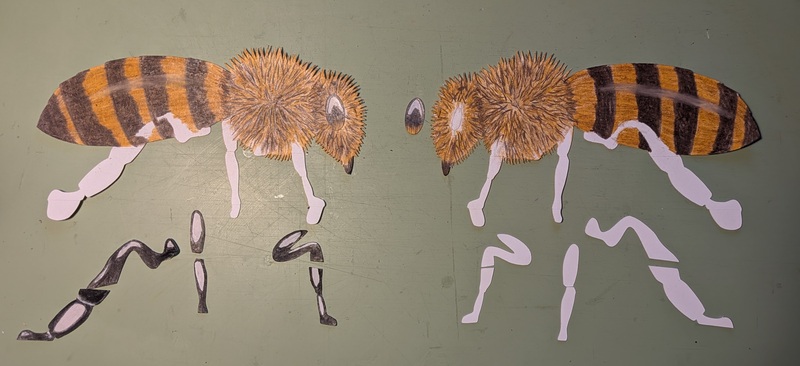 Getting it colored in
Below is the back of the left side of the bee and all its parts. The paper on it will be used to attach the two sides. The two parts on the left make up the floating plane. The small T-shaped pieces will connect the wings and antennae together. The graph paper was supposed to help me get everything aligned correctly.
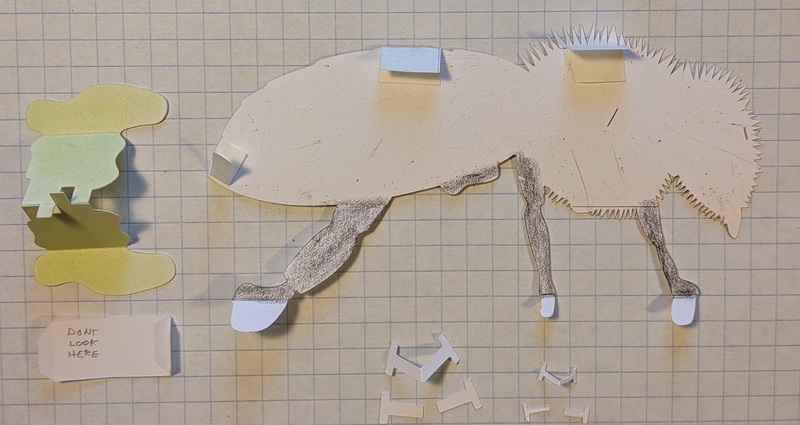 Ready for assembly
Here I’ve attached all the pieces to the left side. The left wing and antenna are attached to the T-shaped pieces, and the floating plane is attached to the thorax. I also colored more of the interior that would be visible. Note that the attachment parts on the feet are green to blend in with the base.
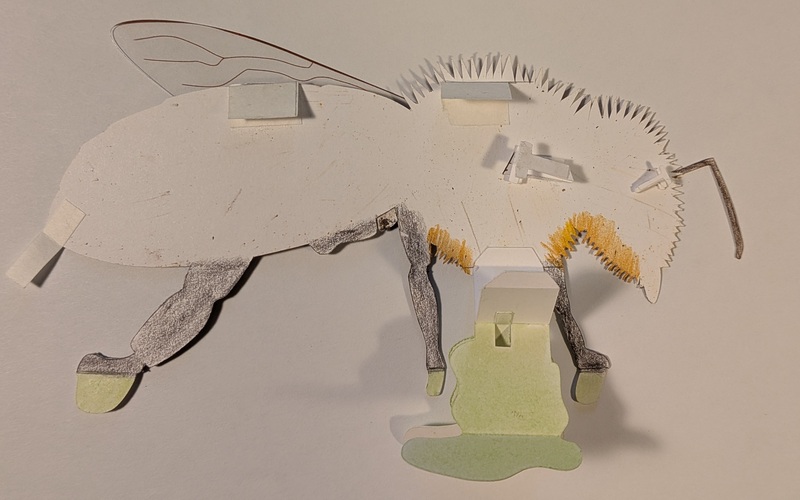 Assembling
For the wings, I printed a design on transparency film. To get smooth cuts, I used the print-and-cut functionality of the Silhouette Cameo 5α. I wondered how well it’d do with the clear film, and the first try didn’t cut very well since it had trouble seeing the registration marks. After some testing, I found that putting paper under the registration marks, it did quite well.
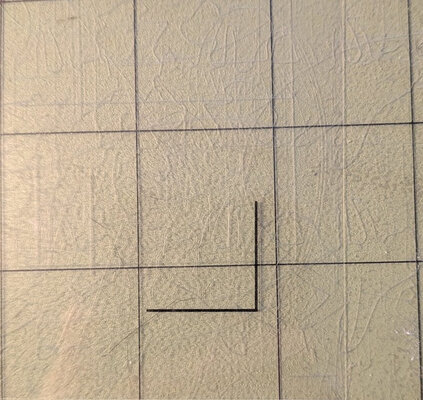
Adding paper under the registration
I carefully attached the two sides, making sure I didn’t get glue where it shouldn’t be. Here’s a peek inside the bee showing how the wings and antennae are attached.
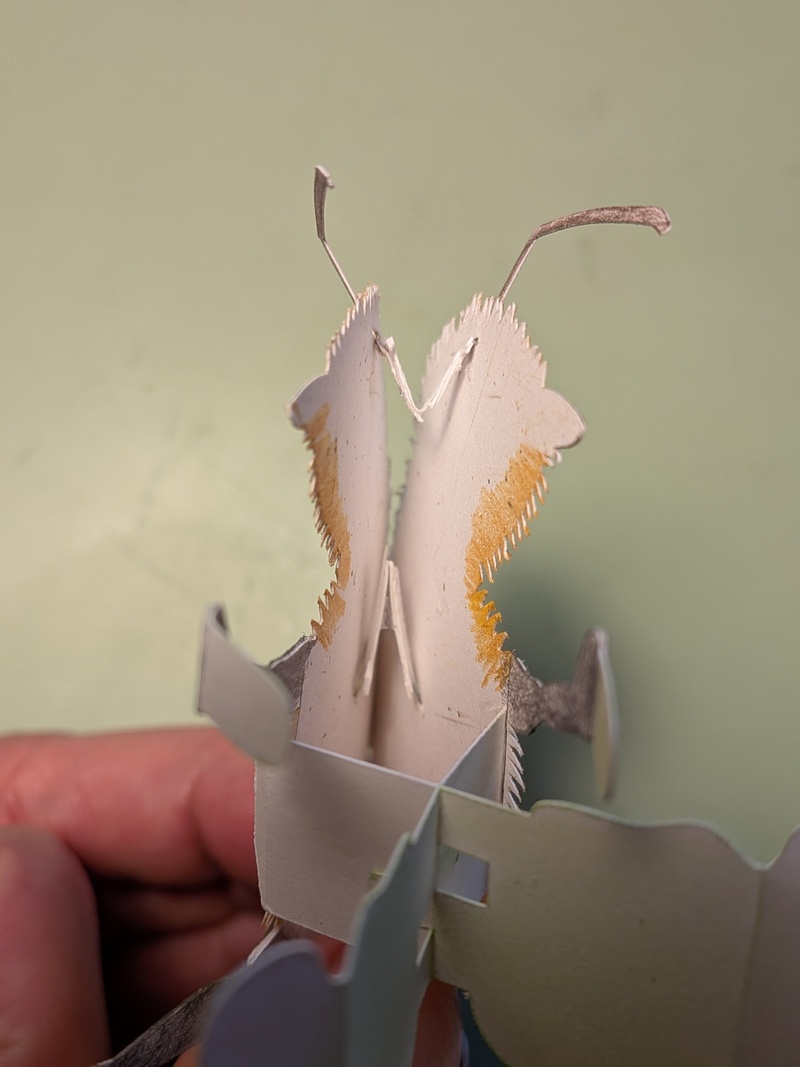 Inside the mechanism
This is when I ran into my first problem. By doubling up the antennae supports for strength, I found they were too thick, and the head wouldn’t close. I hadn’t glued the sides or bottom yet, so I removed the support and replaced it with a single-layered one. Now I could glue the sides of the head together.
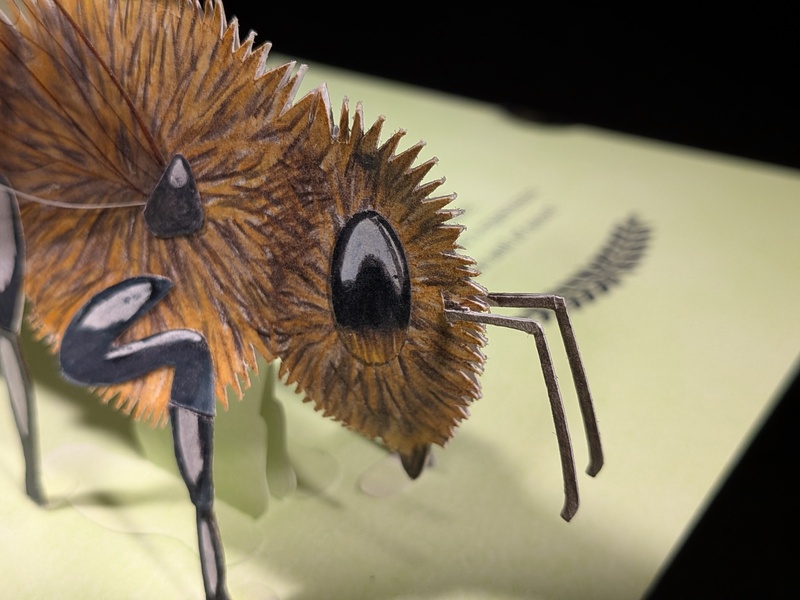 Improved antennae
The cover and inside of the card have green pastels for the background and printed text. The pastels must be fixed (sealed). Before, I printed after the pastels were fixed, but that often produced a mottled appearance. I did a test print with different fixatives and found the best print was on paper that had nothing on it. I fixed the pastels after the printing, and it worked fine.
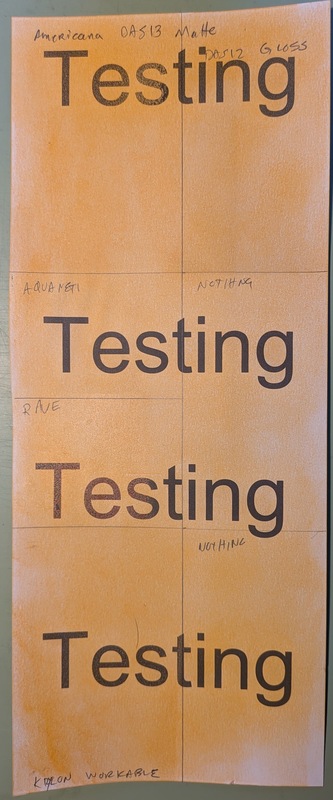 Test of printing over fixatives
Now that I had the base and the mechanism complete, it was just a simple matter of attaching the mechanism to the base. That seemed to go pretty well. I tried to really make sure the floating plane and the bee’s feet were all aligned; that’s when I noticed my next problem.
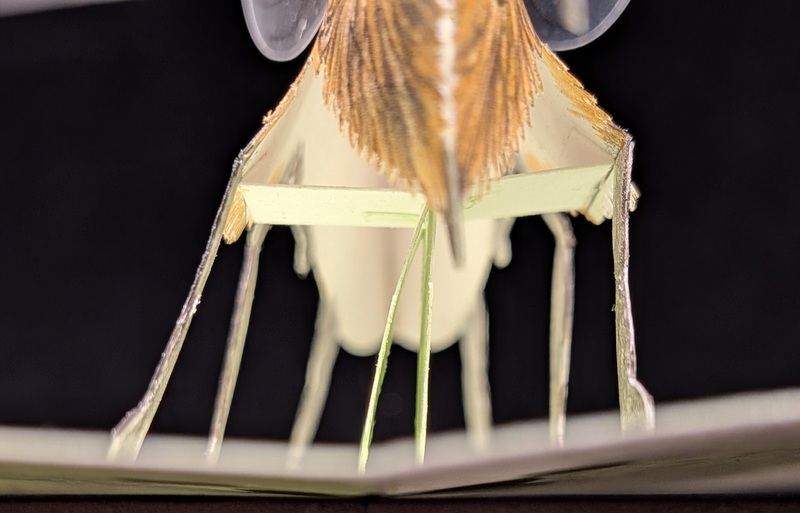 Support misalignment
Even though I had the support cut and scored by the Silhouette Cameo 5α, something got misaligned during assembly, so I got a bit of a lean, which I could live with. The more annoying problem was that the thorax and head didn’t curve out, but curved in.
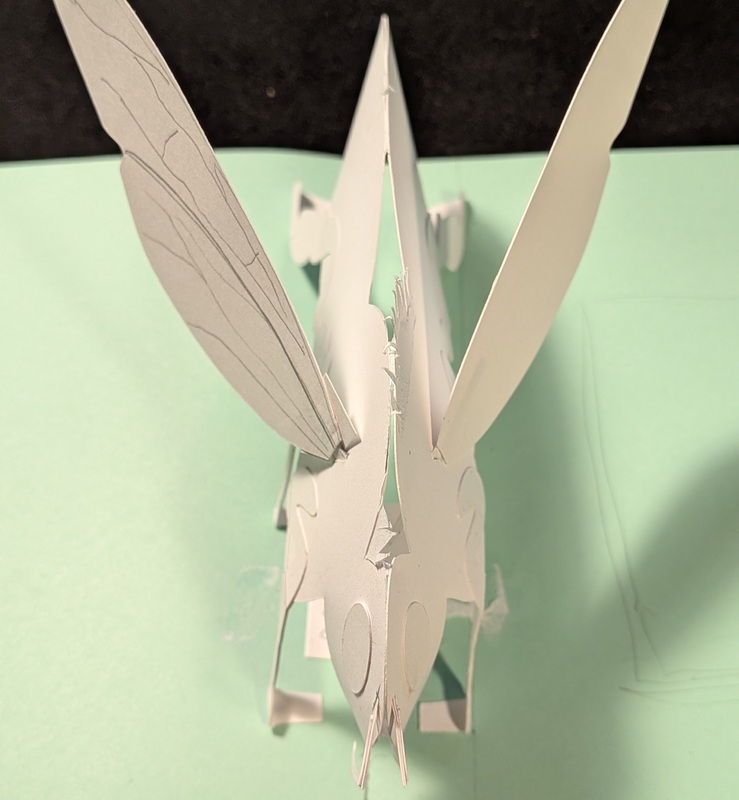
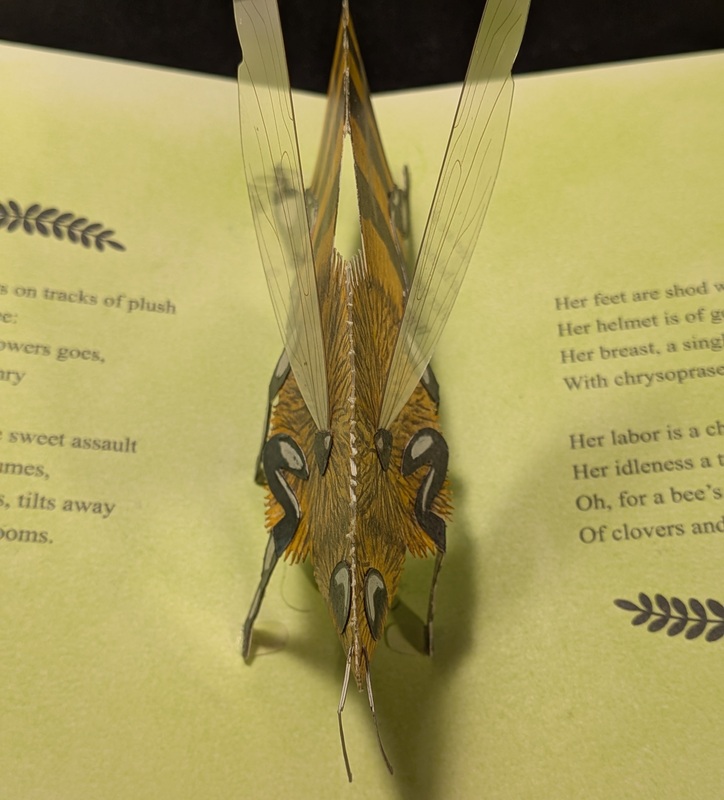 Sketch and final top views with differences in the head
I think this was due to either adding a piece to hold the wings up or getting a bit too much glue on the fur on the top of the thorax and head. Mrs. Wardinkle didn’t really notice, but I thought I could carefully separate the top edges a bit to get the curve. Using a thin chisel, I got the thorax opened a bit, then…
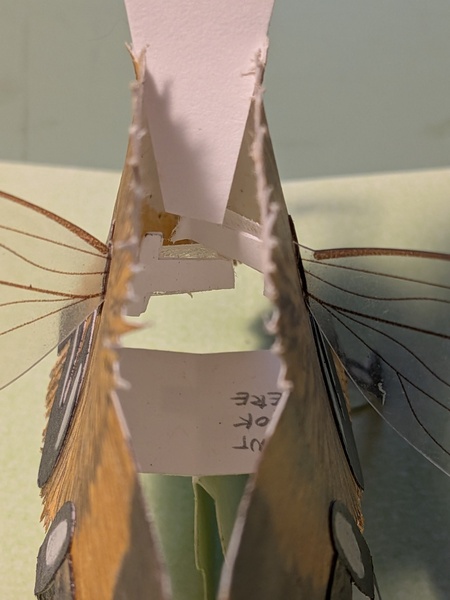 Oops
Oops
When trying to open the head, I broke the wing support! You can see the two T shapes aren’t connected in the photo above. I did surgery on the bee and opened up the top of the thorax. It was going to be tricky to get a piece of rice paper in there and properly glued to each T. Using a paper wedge to hold it open, I used tweezers to insert a piece of rice paper and glued it on one T and then the other.
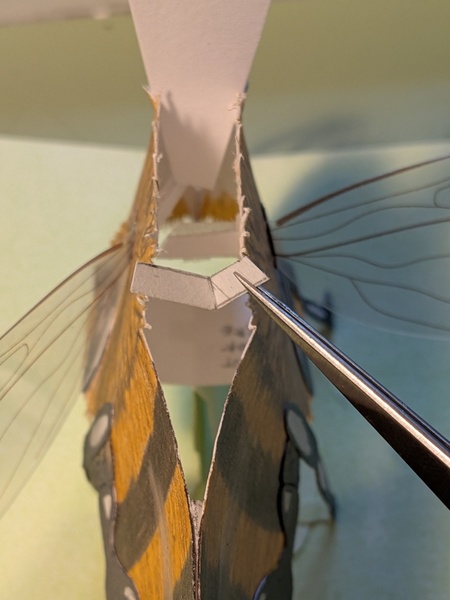 Inserting the rice paper support
And the fix worked! I did not re-add the piece of paper that held the wings up since they were high enough to look normal. And I didn’t want to risk that being the cause of the problem again.
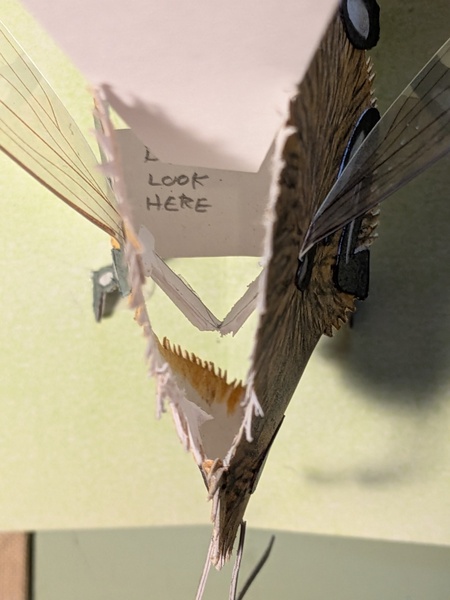 Fixed
Fixed
The final card came out pretty well. As is often the case, when I finish a card, I then know better ways to do it. I did not win the club’s contest, but I was happy to show off one of Mom’s cards.
Cover
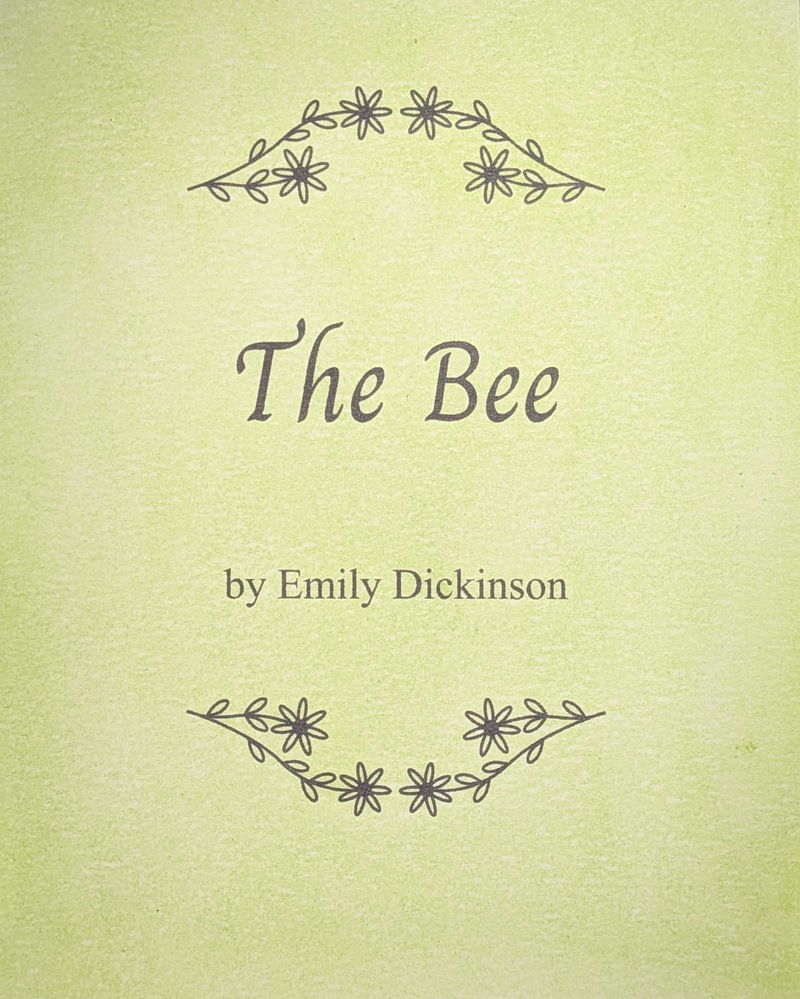
The cover has a pastel background, with printed text.
Build
- 150mm x 120mm
- The card is Bristol paper. The mechanism is index paper colored with colored pencils. The wings are printed transparency film.
- Most of the mechanism was cut by the Silhouette Cameo 5α.