Look to the end of the rainbow.
Idea
Looking back over the years, March hasn’t often used a traditional March topic. I do see that in 2020, I used three-leaf clovers in a pop-up, but this is the first leprechaun.
I thought about doing a rainbow with a pot o’ gold arching across the main fold, but I’ve down that before for Shel Silverstein’s The Rainbox Thrower card. Instead, I decided on using a flat card and pivots (PT2) to make a dancing leprechaun.
Design
This card isn’t three-dimensional like most pop-ups, but these types of mechanisms are usually covered in pop-ups how-to books. For this card, the dancer has seven pivots activated by a slide in this fairly simple mechanism.1 I created a couple of iterations of the jig (see what I did there?), and the photo below is the final sketch.

It’s easiest to make a sketch for a pivoting mechanism using small brads for the joints instead of the paper ones described below (two loose brads are near the bottom). I use a Japanese screw punch to make the holes in the base or mechanism, then use the brads as the pivots. Using this technique you can quickly iterate and find what works and doesn’t. On his right foot and hand, you can see I tried a couple of different pivot points.
Three points are attached to the base: the hand, hat, and belt buckle. The main pivot point is the belt buckle and in the final card will be moved by a lever from behind the card, but for the sketch it’s much easier to move it by hand, or as in this case attach something on the front to move it (the blue strip).
To create a pivot, you first cut a hole where the pivot will go. Using the hole to draw a circle on a piece of card, carefully cut four lines from the edge of the hole outward, as shown below on the left.
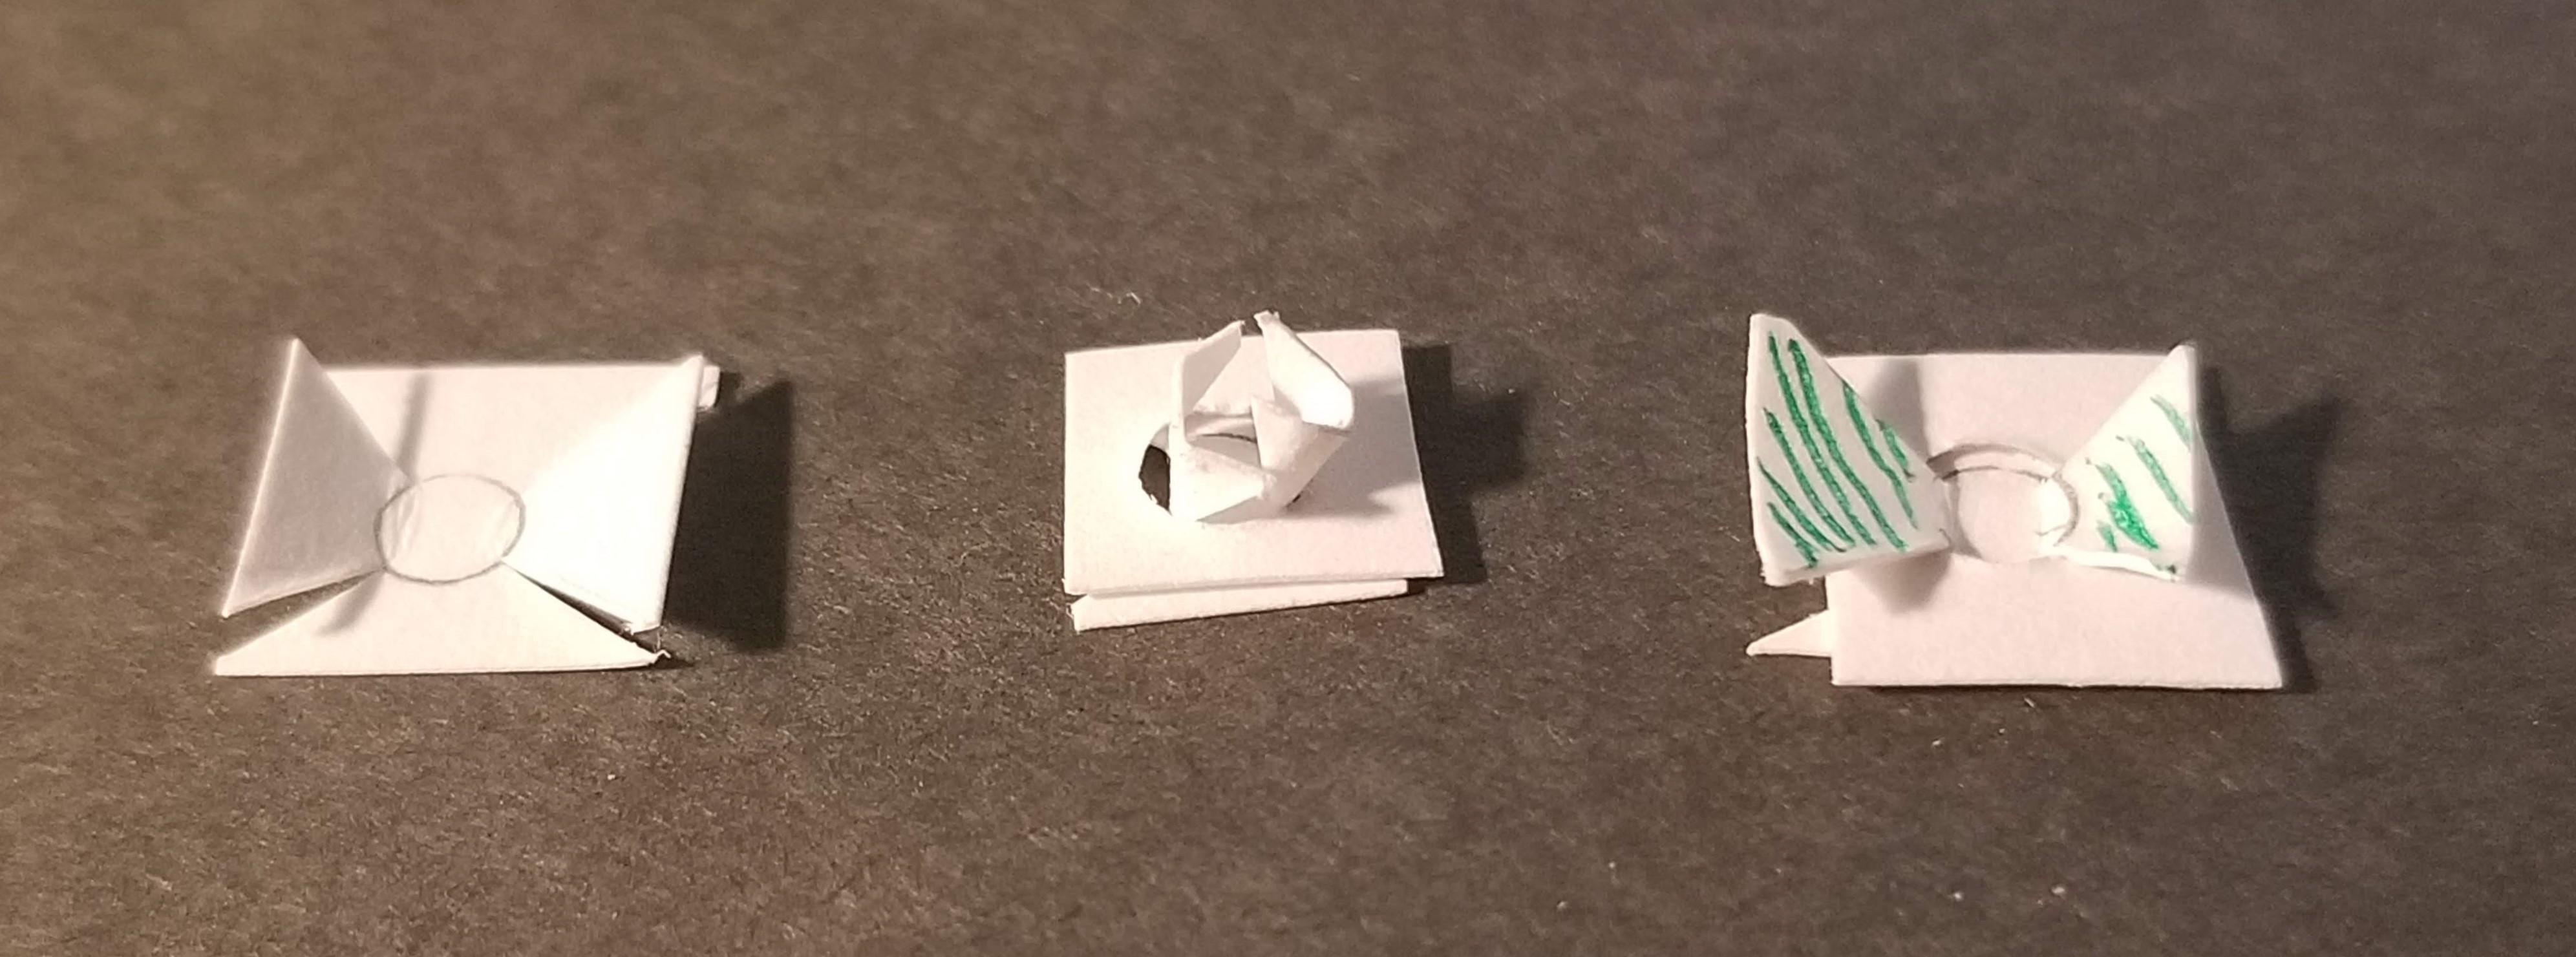
Then squeeze two opposite sides of the pivot through the hole and flatten, as shown in the center and right. Tweezers are helpful here. It is important to make the cuts as accurate as possible. If they are inside the circle, the pivot will be loose. If outside, you probably can’t get it through the hole. An accurate cut will give a nice, tight pivot.2
Only the green-shaded area is carefully glued to the pivoting piece. I emphasize carefully since you don’t want to get glue oozing out and locking up the pivot.
The next image shows the back of the card and a tracing of the mechanism on the front. Near the top are the head and hand pivots, which rotate as the body moves back and forth. Notice that the hand pivot is much smaller than the head pivot to prevent it from showing up behind the hand. Tweezers were very handy for that one.

The red vertical lever is attached to the underside of the body and comes through the back and into a slot on the green slide. Sliding the green part back and forth converts linear motion to a circular one, pivoting on the red asterisk. As the body rotates, the head, arm, and leg move. Since his right leg’s pivot point is close to the main pivot point, it doesn’t get much movement.
The main lever must be strong enough to avoid bending at the pivot point. In this card a heavier piece of cardstock was sufficient. For the green pull, I used a doubled piece of cardstock with a tab to stop the pull movement and a paper sleeve to guide it and stop the push movement. The slot for the lever is a folded over tab with a closely-fitting slot cut into it. The paper sleeve to guide it should allow the pull to slide freely, without too much wobble.
As with most pop-up designs, you have to be careful with colliding parts of the mechanism. In this case, I had to watch out for the beard, which is on top of the body, but attached to the heard that’s under the body. The other tight area was the center and leg pivots that were very close together.
For the background, I cut all the pieces like a puzzle with no overlapping at all. It took some time to draw these on the computer, then cut them out on the Silhouette Cameo but I was pleased with the result. The reason I didn’t want any overlap was to avoid the danger of the mechanism catching on a seam.
Cover
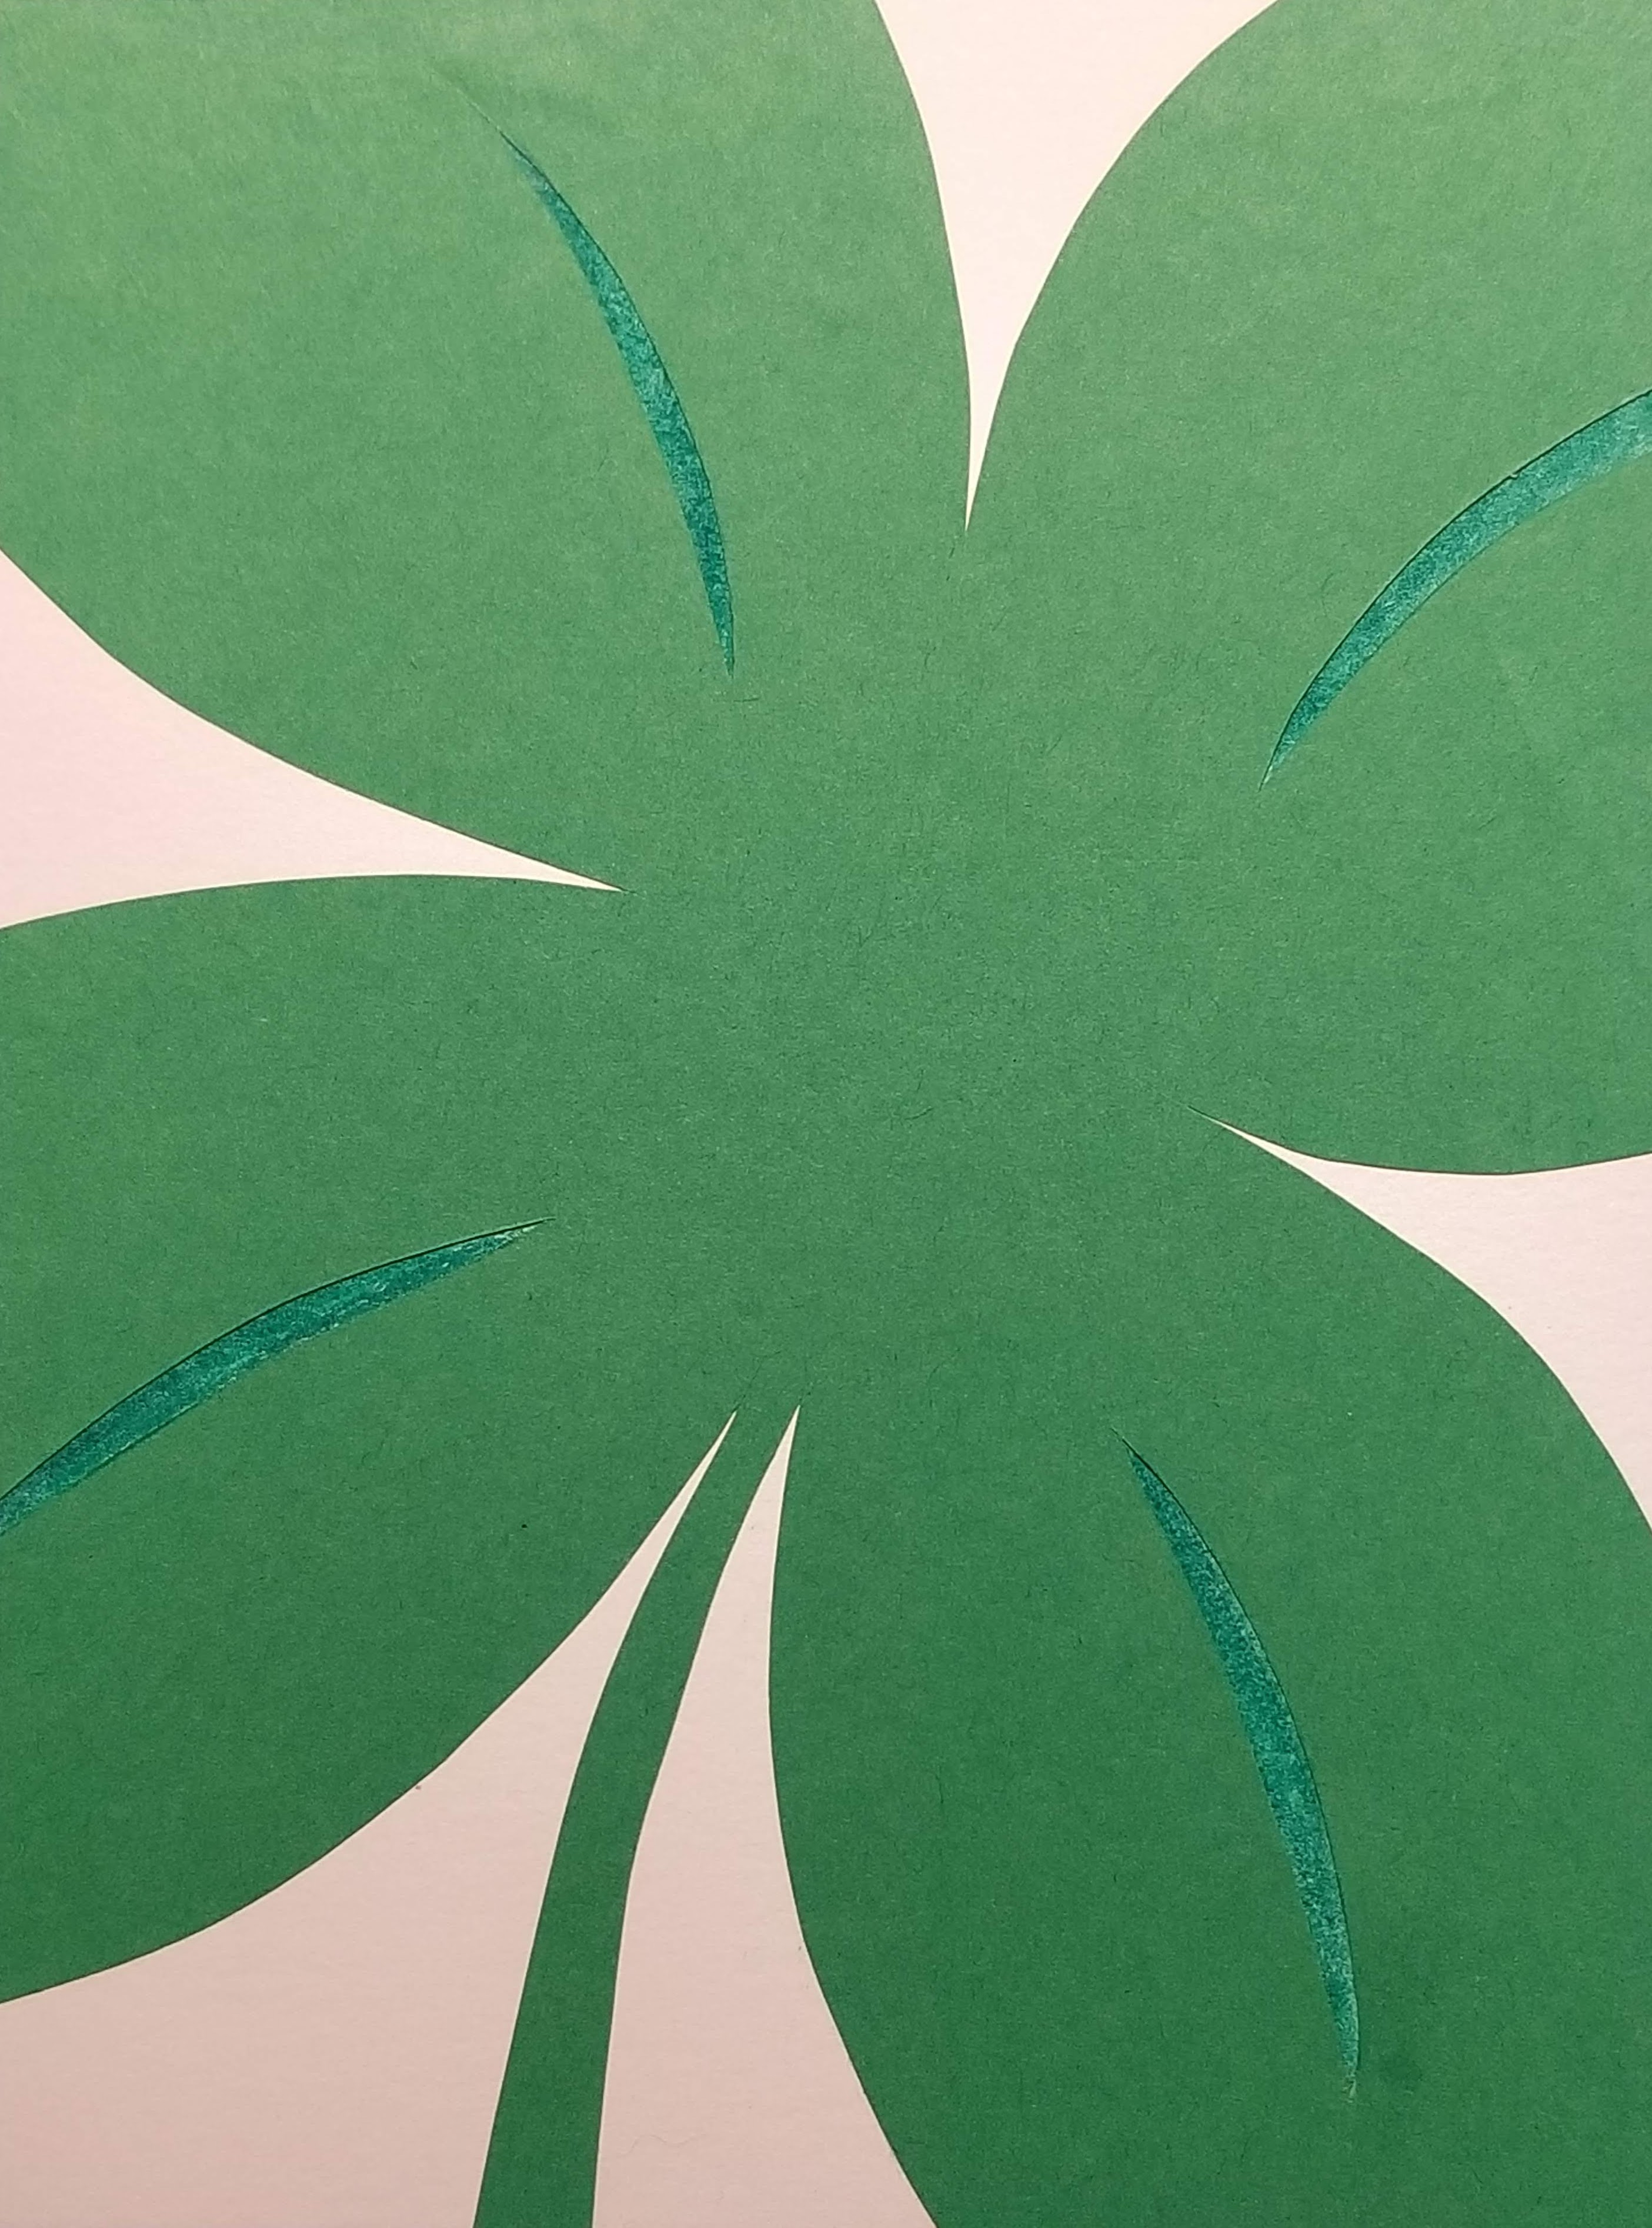
Cut by hand, this is a closeup technique I have used for many covers, but this is its first blog appearance. For these types of covers, I zoom in on an object and have the image clipped by the edges. Looking back, March 2020’s card had a clipped three-leaf clover, so this isn’t too original.
Build
- 9” x 6”
- The cover was cut by hand.
- The leprechaun and background were all cut using the Silhouette Cameo.
- The pivots and rest of the movement were cut by hand.
- The base is Strathmore 300 Bristol 100lb.
-
For some amazing pivots, check out Knick Knack Paddywhack by Paul Zelinsky with paper engineering by Andrew Baron ↩
-
Creating pivots is described in many pop-up how-to books. See my listing. ↩