Building a Board Book.
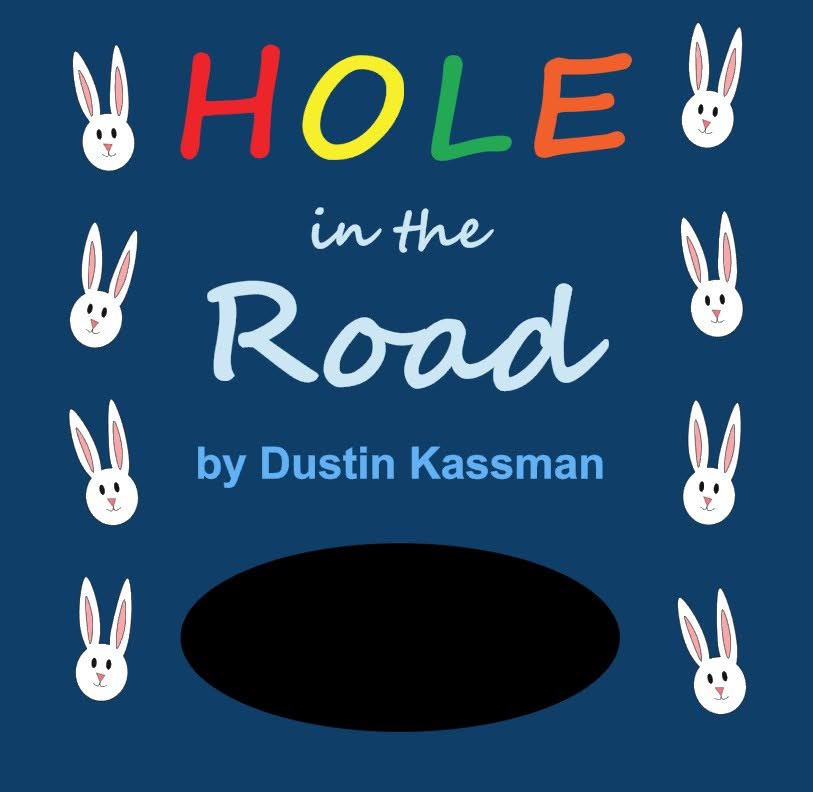
The story
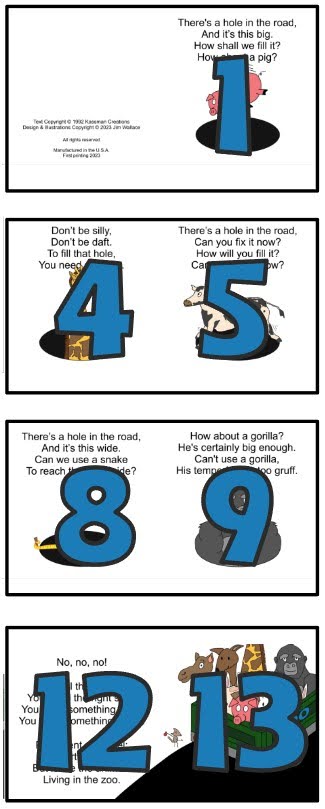
A friend of Mrs. Wardinkle writes children’s poems and stories as a hobby and we had discussed creating pop-ups or illustrating some of them. I thought one of his poems, “A Hole in the Road”, would make a good board book. It is thirteen short stanzas about using animals to fill a hole in the road. That would work perfectly in a board book with seven two-page spreads, leaving room for illustrations. Unfortunately, life got in the way and we never got past a few conversations. Fast forward a year or so, and his health is failing. I thought it’d be a nice pick-me-up to surprise him with a board book of his work. After running it by his wife, I got the green light to make it.
Aside from pop-ups, I enjoy bookbinding. I have made several journals for Mrs. Wardinkle and relatives, but never a board book. Something new to learn.
Design
For this book, I did all the illustrations. I wanted the final product to be rather cartoony, with black outlines and bright, flat colors. To achieve the colors, I decided the illustrations would have to be on the computer. I can barely draw cartoon mice on paper, let alone on a computer, so I sketched all the illustrations on paper. Then I photographed them, uploaded them to the computer, and traced over them using the software for the Silhouette Cameo. That is the software designed for the cutting machine, but I could use it well and knew it creates vector graphics. Vector graphics are drawings that, unlike a photograph, don’t lose quality as you enlarge them. A curved line will be a curved line no matter if it’s the size of a postage stamp or a billboard.
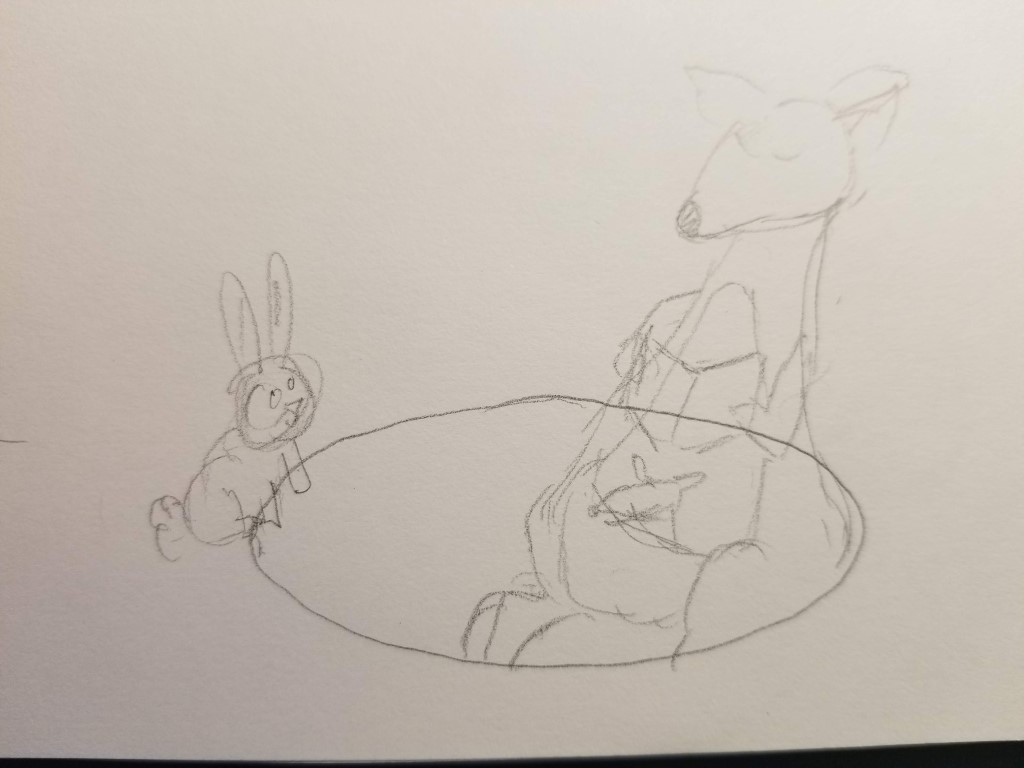 A sketch
Being vector graphics on the computer also allowed me to easily adjust the drawings since every line and shape is a separate object I can change. Is the giraffe’s head not quite right? I can make it smaller, rotate it, or adjust the ears. Does that spot on the cow not look like Lake Michigan? I can fix that.
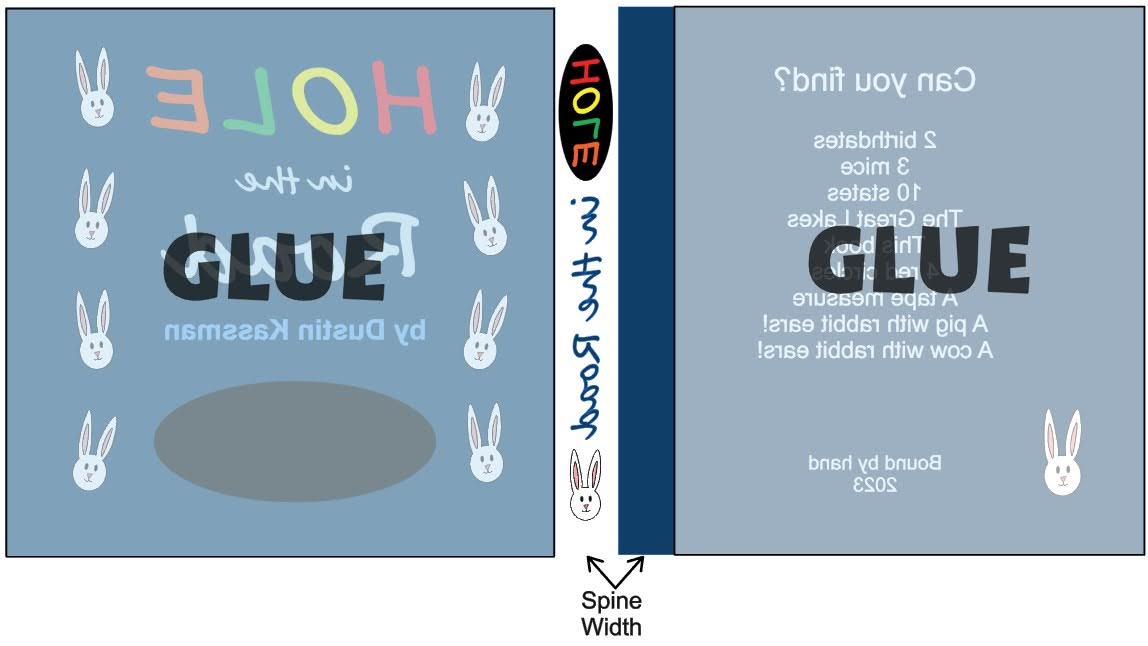
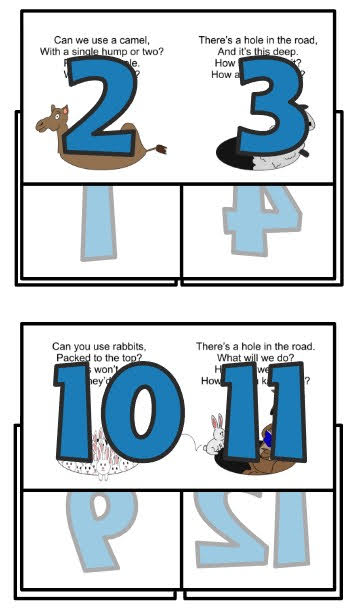
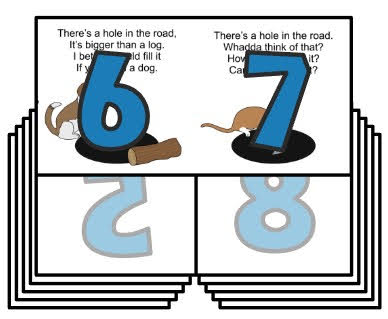
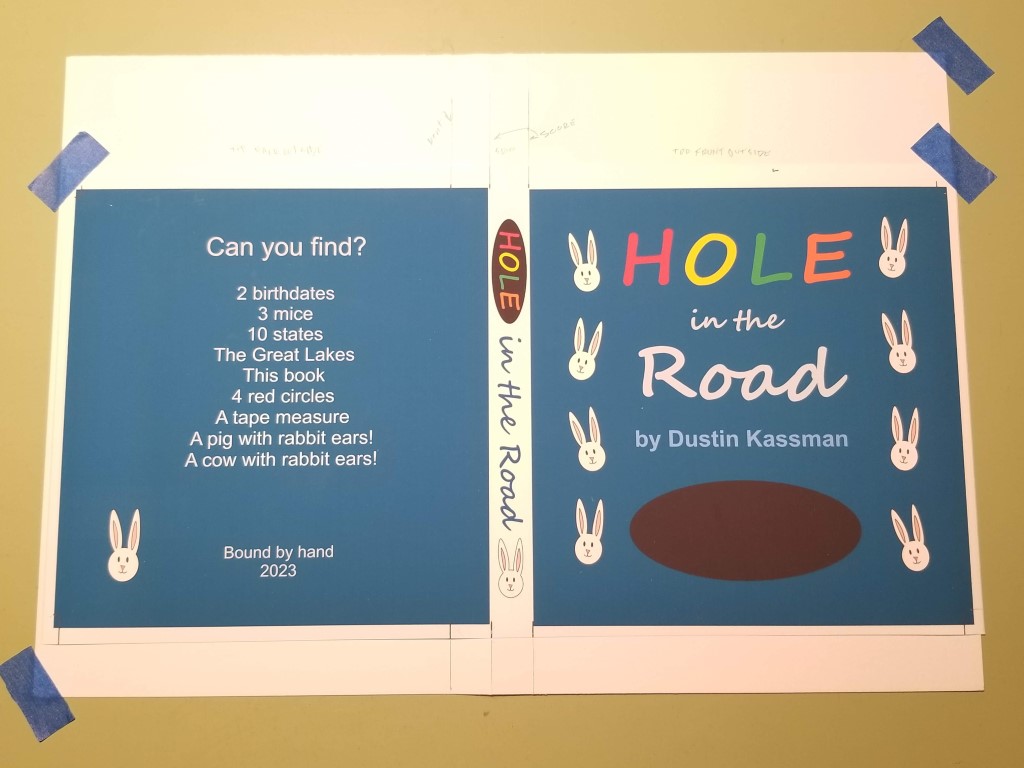
The layout was in two-page spreads with a left and right side. The first spread would be the inside cover, and page 1. The next is pages 2 and 3 (odd-numbered pages are always on the right) and so on until the last spread of pages 12 and 13.
The cover is similar to a spread, except it has the spine of the book between the two halves. I couldn’t create the final version of this until I had built the book and could measure the spine width.
Since I knew I’d be printing on 8½x11 material, a spread (two pages) had to fit within 11”. I decided to make the book 5” square. Spreads will be 5x10, and the cover will be about 5x10½ with the addition of the spine. That’s slightly smaller that a Sandra Boyton book, but still a nice size.
Printing
You can get board books printed on demand, but it’s very expensive, and you often have to order a large quantity. Plus it takes a long time. Since I can assemble the book myself, I thought I’d use a local professional printer for the printing. When I asked about options for printing on something durable, they suggested self-adhesive vinyl, which seemed like a great idea. Little hands won’t mess up laser-printed vinyl. But can I make a book with it? They gave me a couple of sheets of vinyl so I could do some experimenting. I created a small version and did other tests attaching the vinyl to boards and everything went well. The printer would take over a week, so I thought the local copy shop should be able to print on vinyl, but they would only print large-scale vinyl and it was very expensive. I submitted five copies of the book to the printers and begin anxiously waiting. I did multiple copies in case I made a mistake, and to be able to make another book, without the long lead time (and a discount).
Unfortunately, when I picked up the pages after ten days, I found they neglected to tell me about correcting colors for their printers. At first, I thought I could use them, but looking at a red pig instead pink one, I had to return them.
Printing Attempt #2
Disappointed, I went back to the drawing board and thought I’d try using my home printer (which prints colors just fine). There is printable vinyl, but I had no experience with that so decided to use photo paper, which I know prints nicely. Like with the vinyl, I created another small prototype, using different glues and methods to attach spreads to the boards. I also tested sealing the photo paper with a spray to make it water-resistant. Without sealer, a wet finger easily smudges the printing.
All went well. I printed the book out on photo paper and sprayed them with three light coats of sealer.
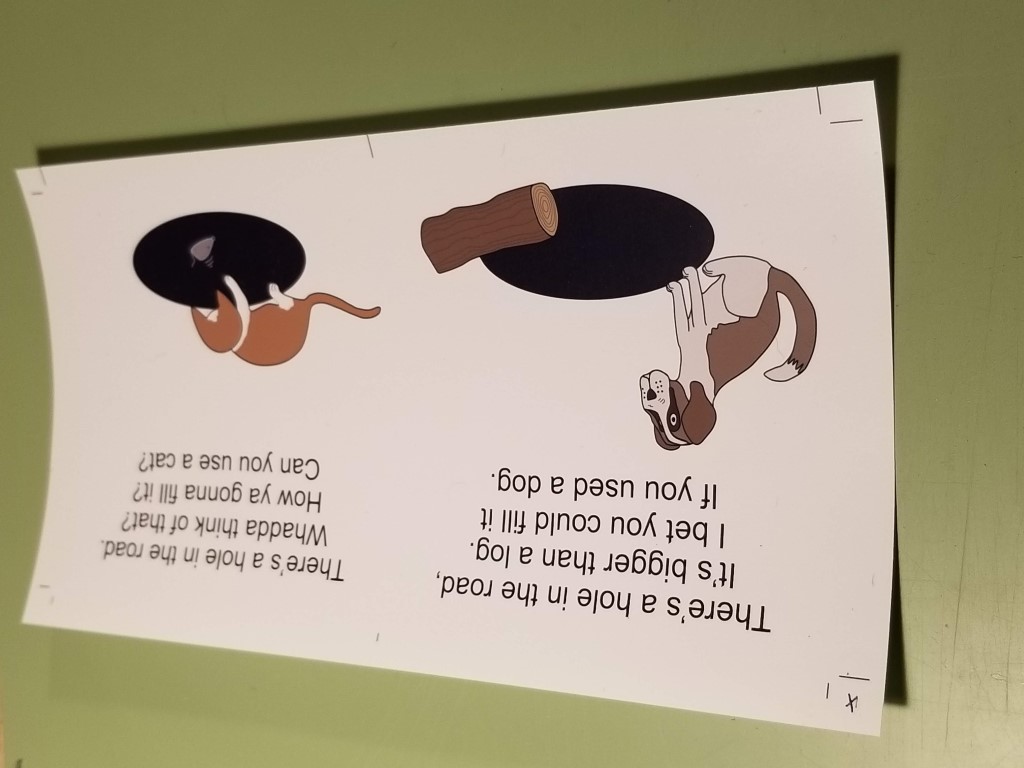
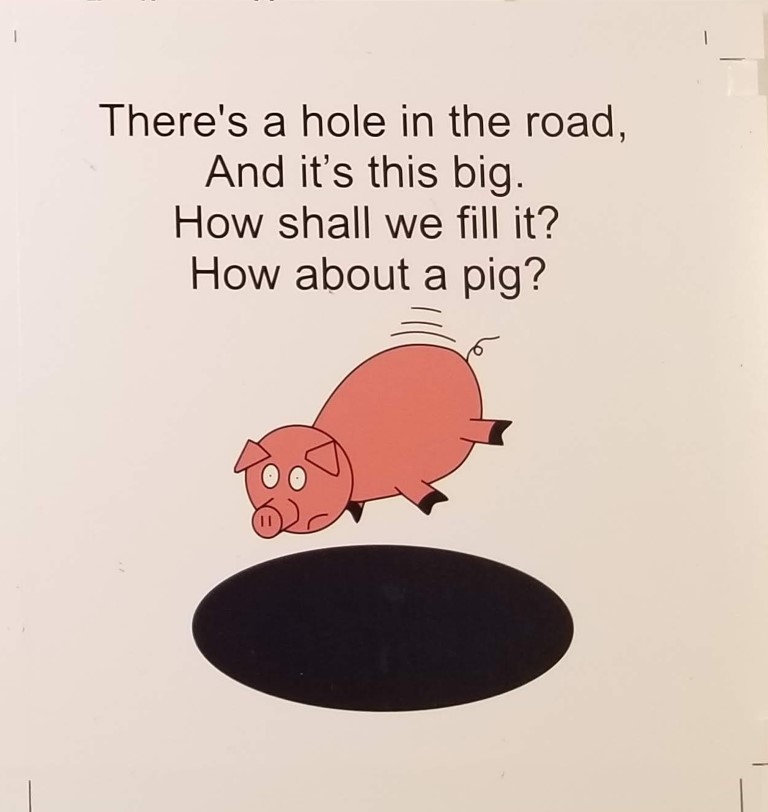 The pig is pink!
One thing I learned, is you must cover the paper after you spray it. I found several places where little pieces of lint fell into the wet spray that I had to carefully remove.
 Watch out for lint!
Cover Debacle
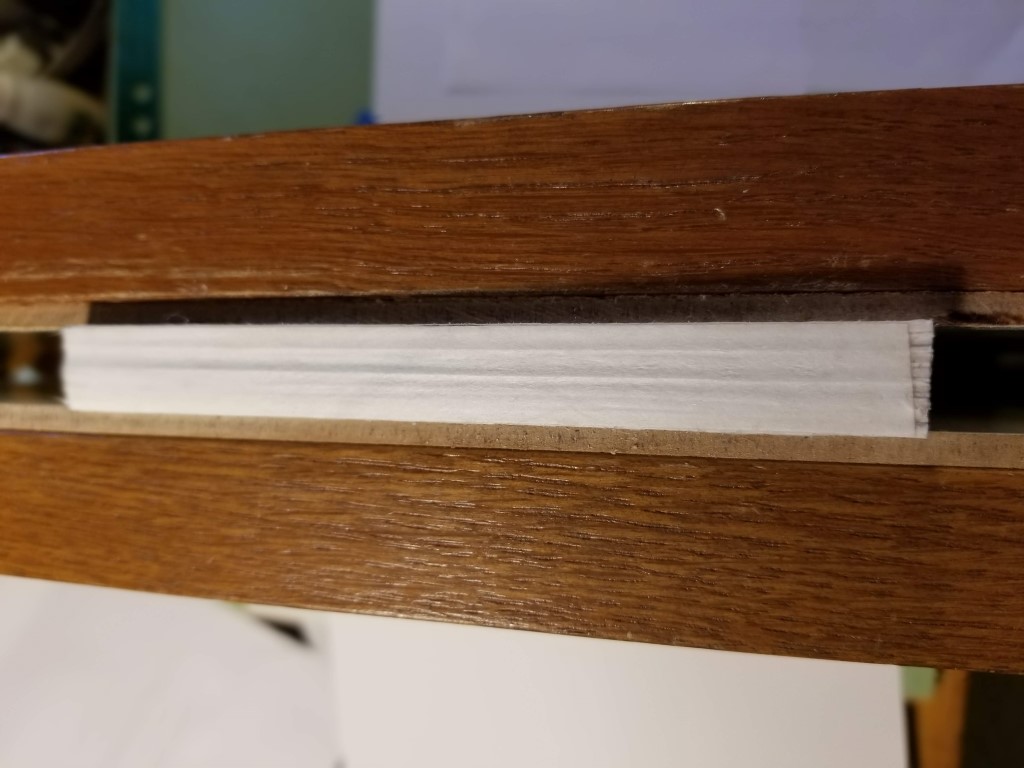
I thought I may have issues with the folding of the photo paper, but didn’t realize the extent until after the book was completed. The front cover hinge moves a full 180° when you use the book giving that fold quite a bit of stress. (The other hinge points only move about 90° so have an easier time of it.) The photo paper itself was too weak for the cover so I planned on gluing it onto heavy bristol paper to make it stiff enough. I scored the bristol paper to make the bending easier, which makes a rough edge. This is ok for the bristol since it’d be covered with the photo paper. The debacle came when I folded the photo paper after it was glued up. As I feared, it cracked as shown below.
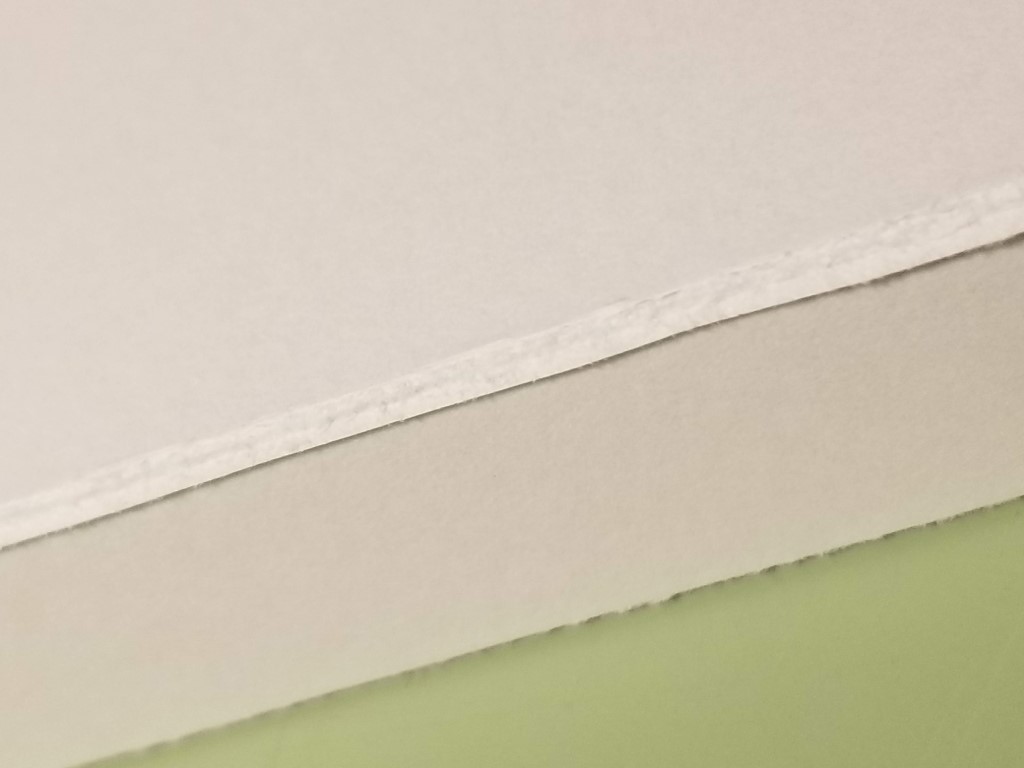
 Left: Bristol paper scored and folded. Right: photo paper folded and cracked
I hoped a light sanding would make it neat, but it remained a rather ugly, ragged edge. Also, it would not wear very well and probably peel open after handling.
Recovery
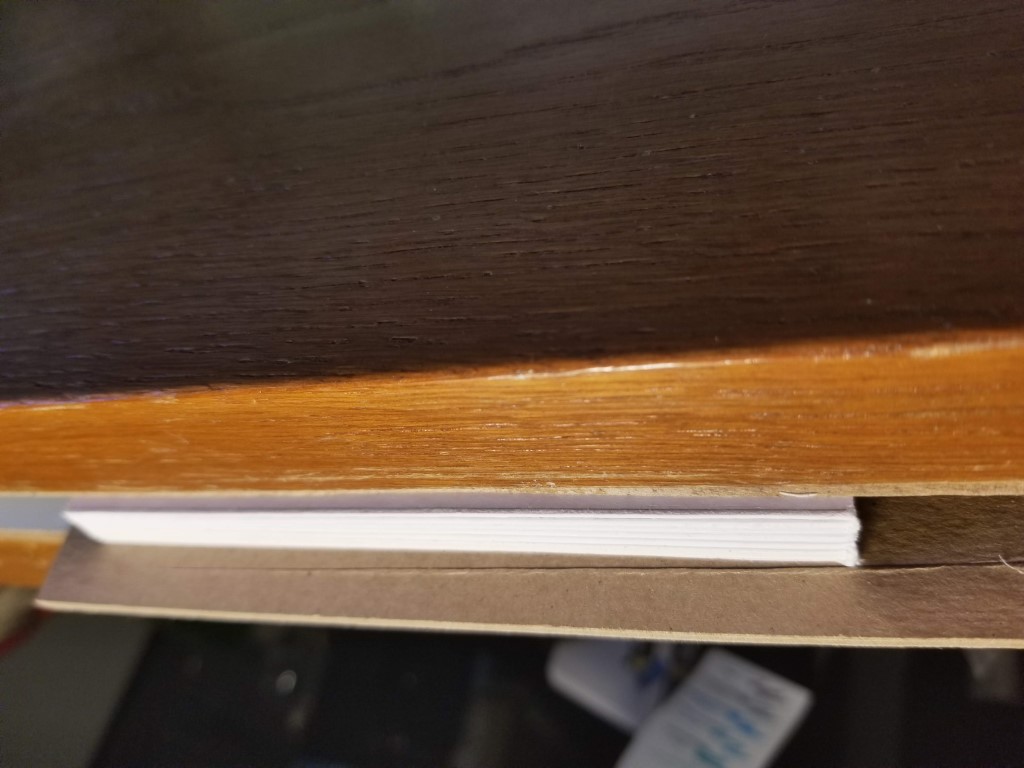
(👆See what I did there?) When doing vinyl prototypes, the cover worked great, so I thought I’d try out printable vinyl. Using that over the bristol worked great. Being flexible the vinyl could take the punishment of bending without cracking. To make sure it was durable, I went ahead and sprayed it like the photo paper.
 Vinyl spine
Printing Attempt #3
At this point I had a completed book on photo paper, however, I noticed that a couple of the interior folds also showed signs of wanting to crack. The vinyl I used on the cover worked great. Doing some tests, I found this was not necessary since even though printed on an inkjet printer, was water-resistant and durable. Therefore, I chalked that first book up as another prototype, and decide to go 100% vinyl.
Deciding on the Boards and Binding
I wanted this to look like a board book I remember reading to Howard, Jr., such as the Sandra Boyton or Eric Carle ones. The thickness of those books’ boards is about 1.3mm. I found a cheaper board book with 0.8mm. For my boards, first I tried two layers of bristol, which produces a board that’s pretty stiff when 5”x5”, but too thin at about 0.65mm. I decided to go with mat board that was 1.2mm thick and had a plain front and back. I did look at using a stiffer illustration board, but it had a colored back with the company’s logo on it, which would show through using vinyl.
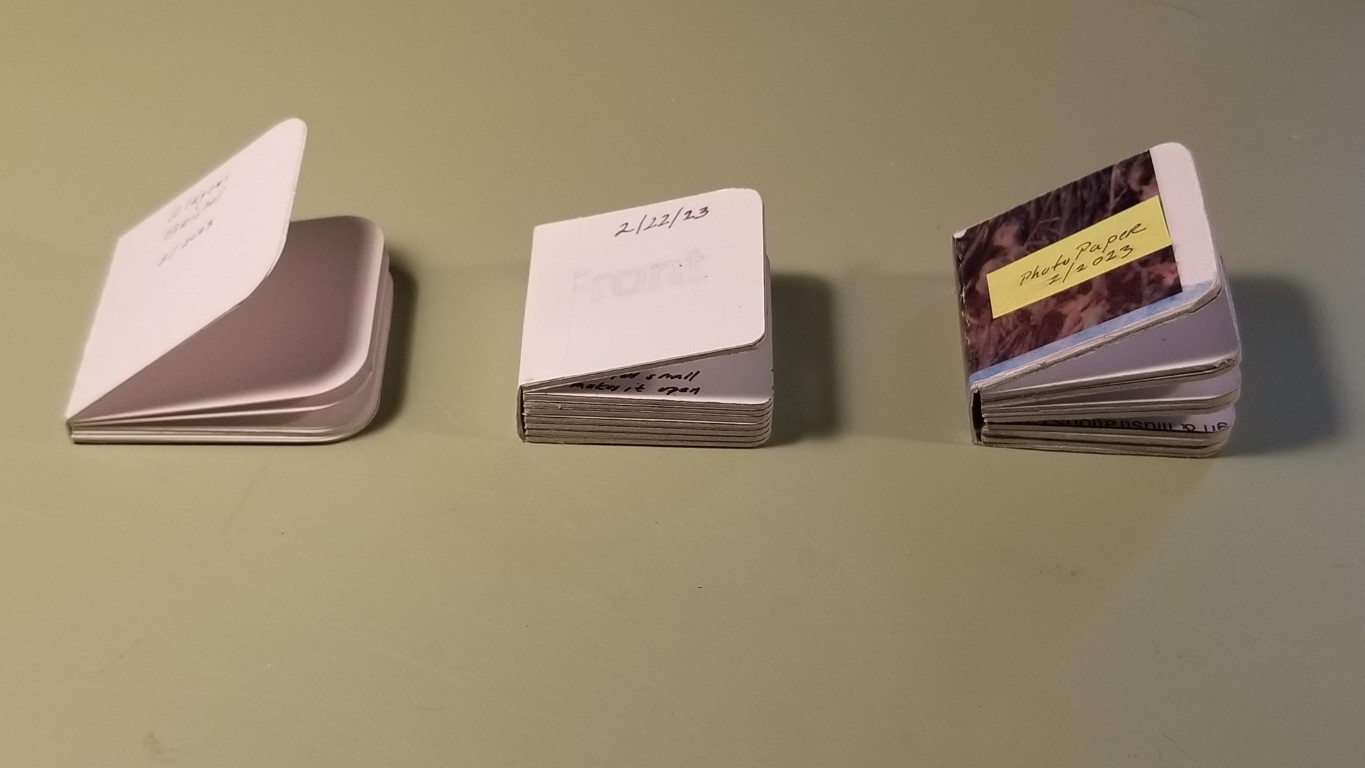
Here are three small samples I made with 1¾“x1¾ boards. With these, I could test assembly methods and the durability of the materials.
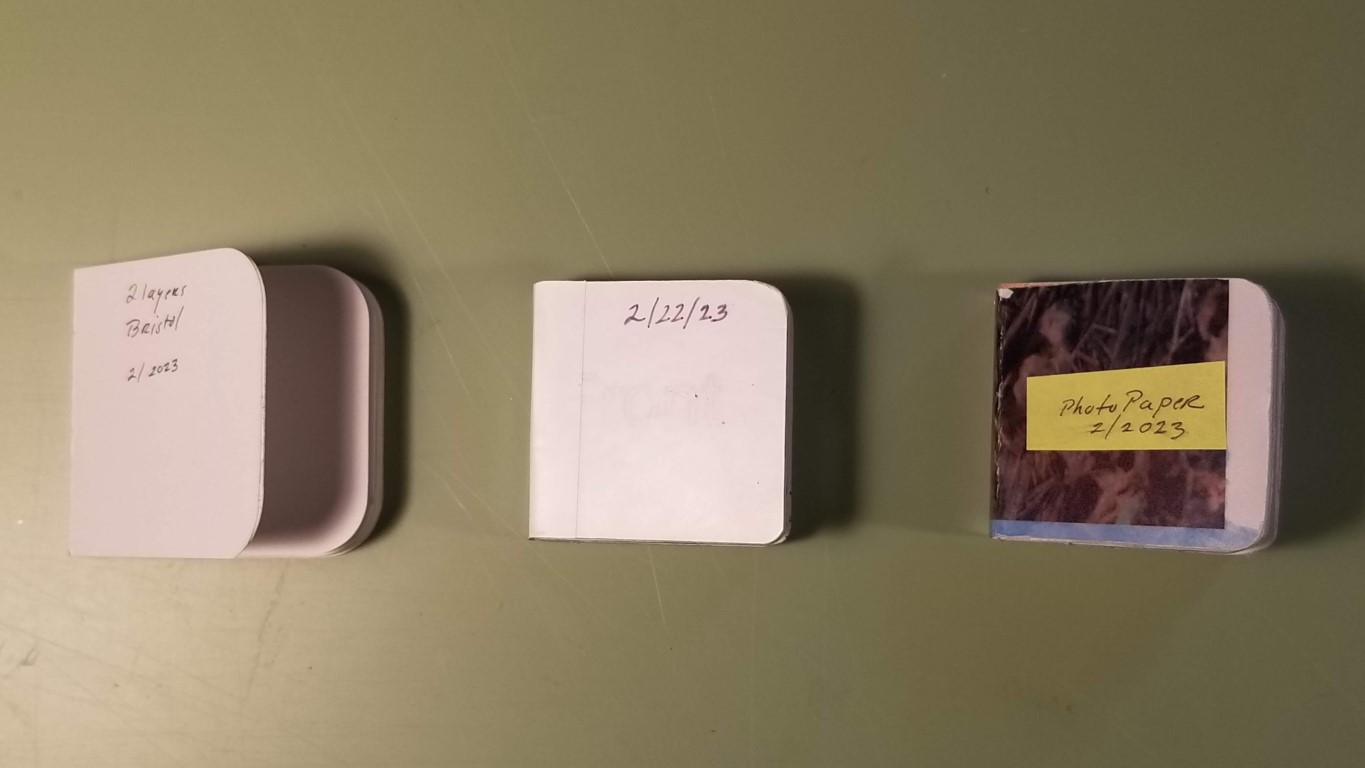 From left: Two layers of bristol, vinyl, and photo paper prototypes
I found that the cover typically used for board books is called a drop spine cover. The cover is of stiff paper, about half the thickness of the boards. It is glued completely to the front and not on the spine. On the back, a spine-width’s area is left unglued to allow it to open as the book opened. Here’s how I glued the back of the cover.
 Where to glue the inside of the cover
The photos below show the prototypes with the covers attached. When closed, the cover wraps snugly around the book. On the right, the last page is opened and you can see the drop spine forming an open square under the book. I found that making the spine of the cover slightly bigger than the spine of the book prevented the first page wanting to open partially opening when closed, as the prototypes show in varying degrees. Also with the prototypes being very small, even the fold of the paper can open the book a bit.
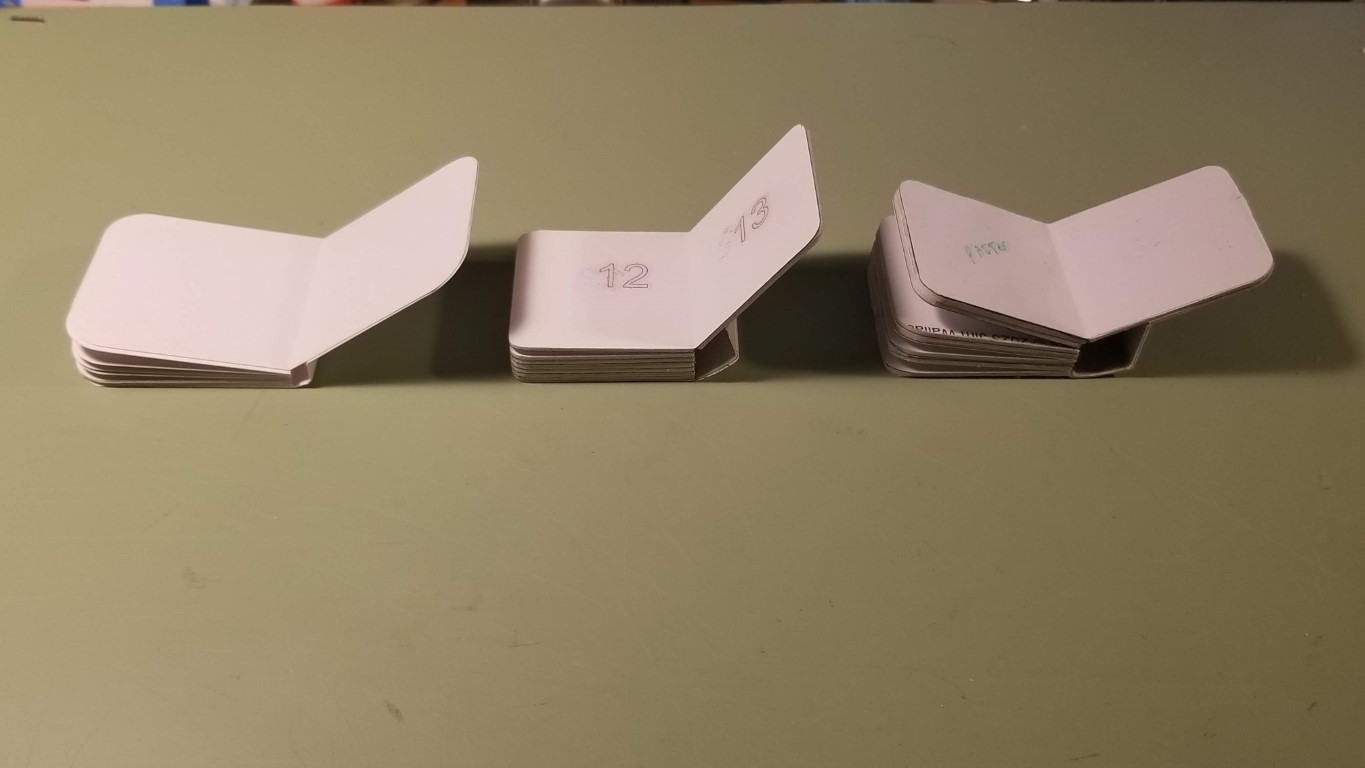 Drop spine on prototypes closed and opened
Making the Boards
The book required eight boards, each 5” square. Usually, when building a book, you trim the built book after it is assembled to get nice flag outside edges. Since this book has paper attached to boards that must have very accurate alignment on the folds, I decide to cut the boards as accurately as possible to the final size. Ideally, the edges would just need a bit of sanding to clean them up.
For the next build, I will use larger boards (5¼x5½) and cut them down after assembly.
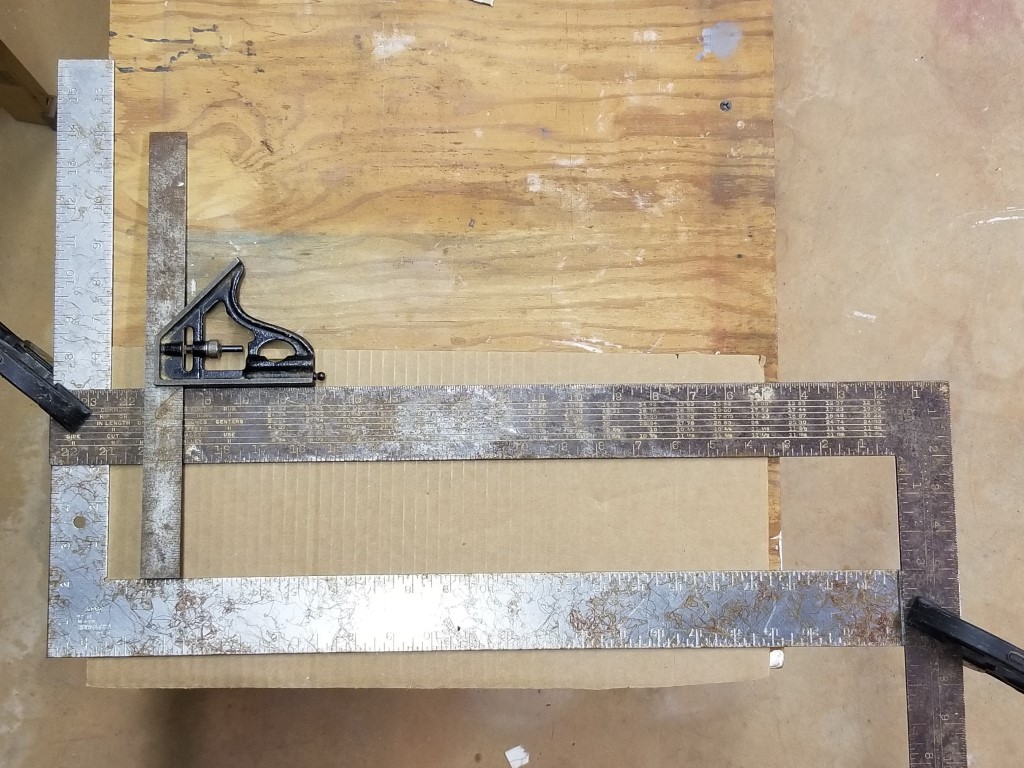
To make accurate as possible cuts, I created a jig using two framing squares that created a rectangle to allow me to cut 5” widths. In the photo below I’m using a combination square on the left to ensure the opening is 5” all the way across.
 A cutting jig
When making a book, the grain of the paper and boards is important, which should be parallel with the spine. I determined the mat board’s grain and marked each square as I cut them to keep the grain aligned.
The easiest way to determine the grain is to bend the board in each direction to see which way bends easier. The easier bend is parallel to the grain.
They came out pretty dang close, not perfect, but close. After cutting about a dozen, I selected the eight flattest ones, picked the squarest corner for the top near the spine, and marked each board. That way when assembling the spreads I should be a nice perpendicular fold down the center of the spread. In the photo below we’re looking down at what will be the spine of the book. I’ve marked the head (top) of the boards with a mark on the left and put a diagonal line down the boards to help keep them in order.
 Book boards cut and marked for assembly
Attaching to the Boards
When attaching two boards to a spread of self-adhesive vinyl, there were things I had to get right:
- The tops of the two boards, must be in line
- The spine edges of the two boards must match the fold on the vinyl
- The edges of the two boards at the spine must be at 90°
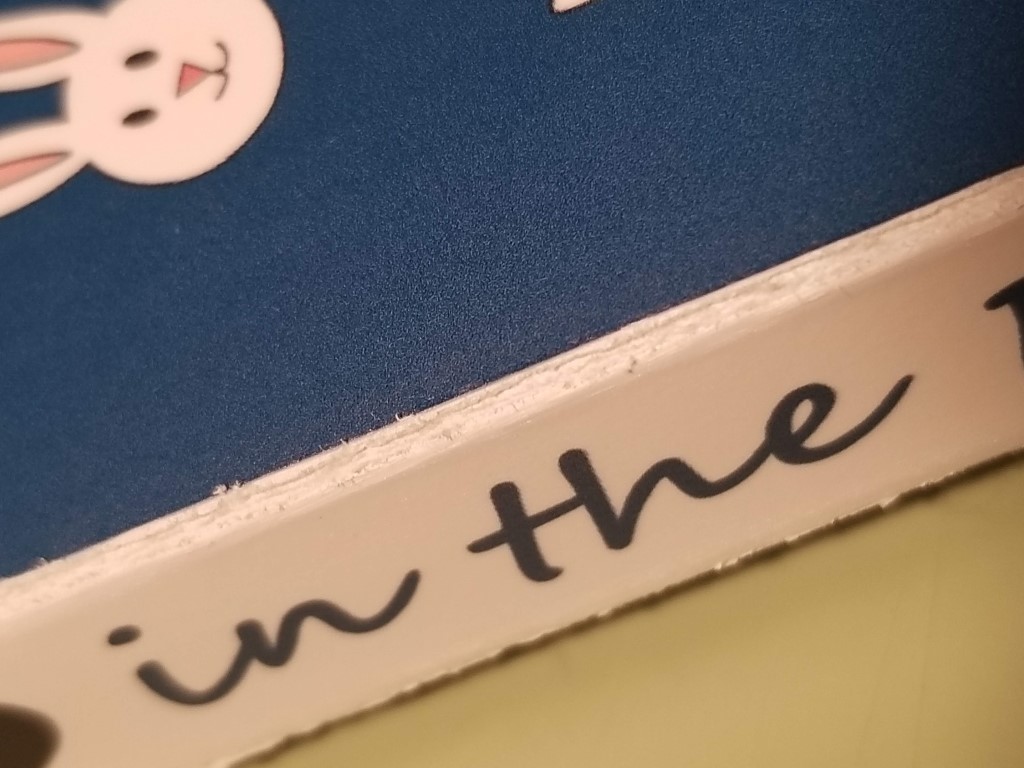
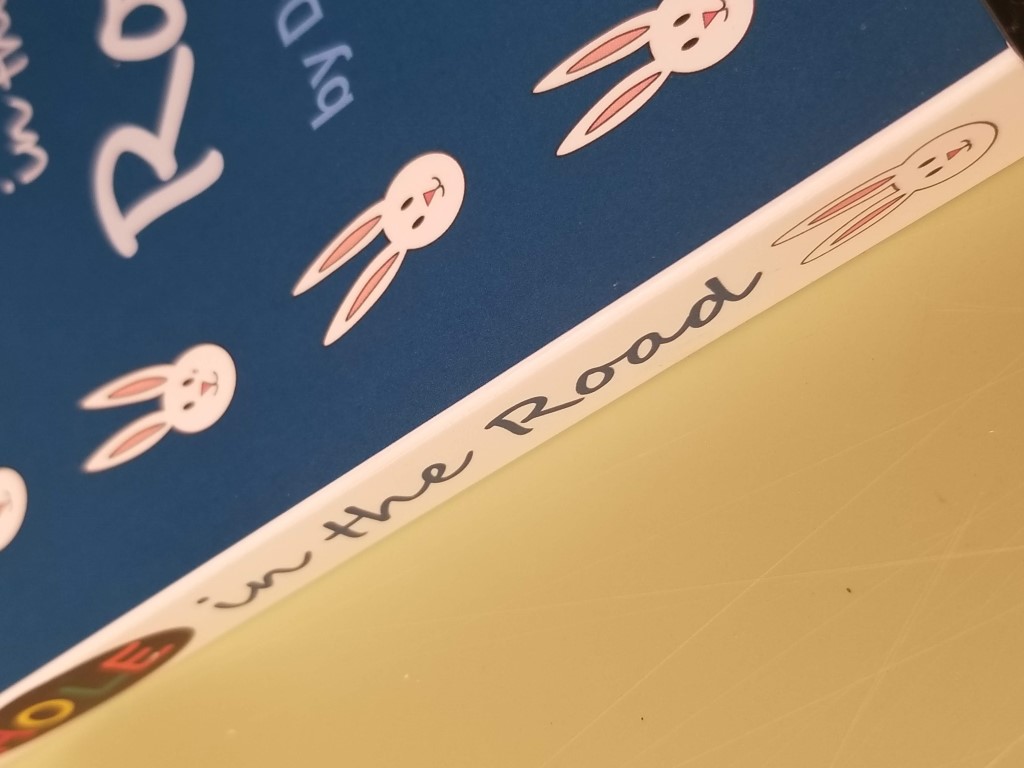
The vinyl printouts were 8½x11, but the spread is 5x10. To mark that 5x10 outline, all the printouts had registration lines on the corners and the center as you can see below. The vinyl was thin enough that I could see the registration marks from the back.
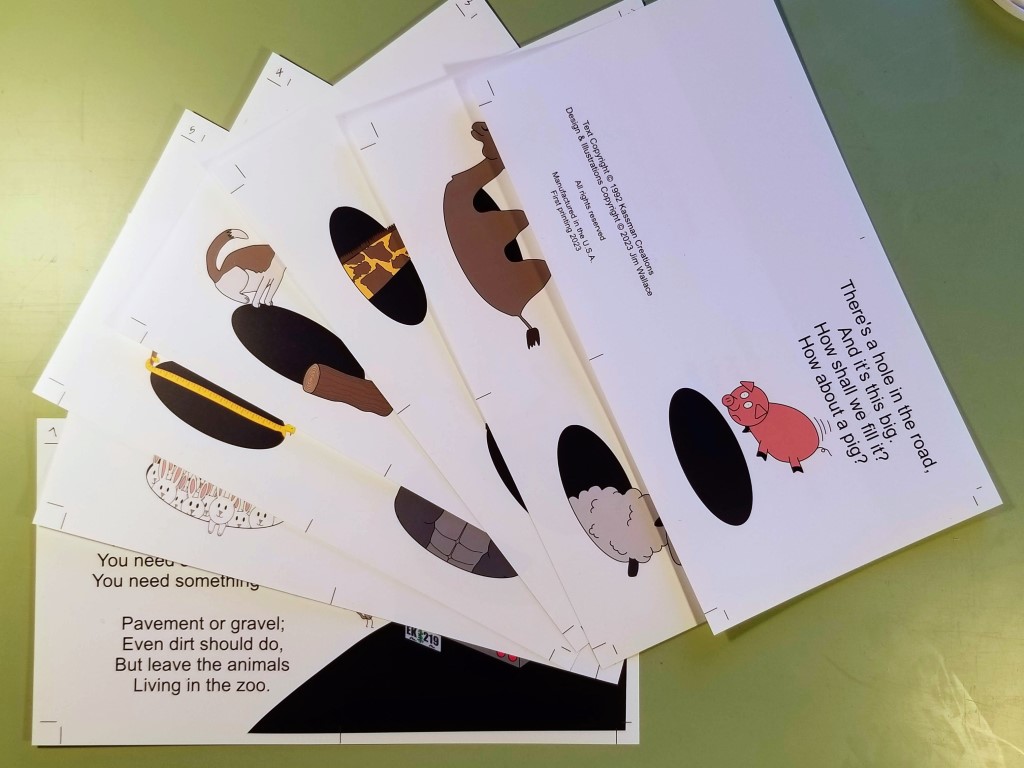 Pages with registration marks
For the assembly jig, I taped a ruler to my working surface and marked a vertical line that will be the fold of the spread. The spread’s center registration line will be aligned with that. To align the top edge of the spread with the ruler, I trimmed the vinyl to the top edge. The paper is about 9” wide so I can tape the vinyl down when attaching the boards.
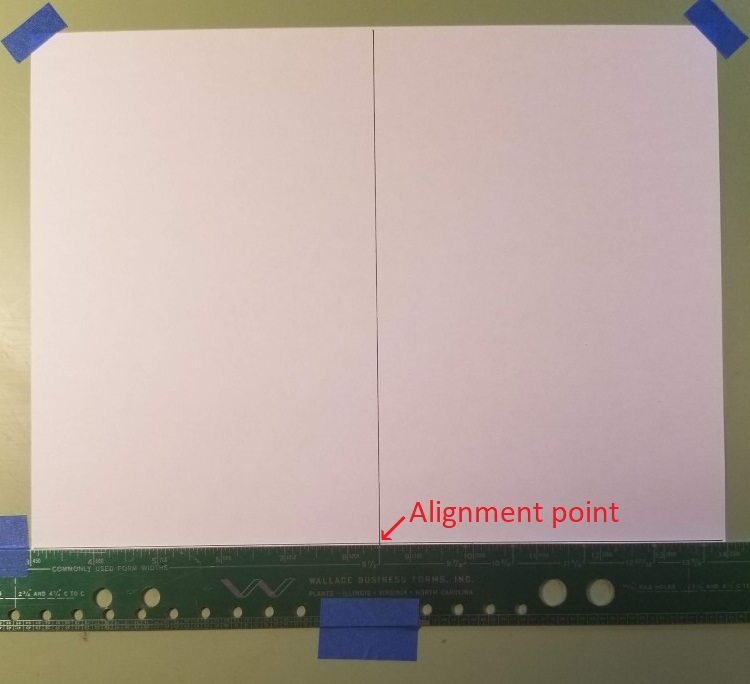 Mounting jig with the center line
The next photo has a spread taped down against the green ruler. Note that I’ve peeled the vinyl’s backing on the upper corners to be able to tape it down. Although it’s difficult to see, the vinyl’s center registration line is aligned with the mark at the top of the jig and a mark on the ruler is aligned on the lower edge. Since I want the top of the book to be the better edge, I made the ruler the top edge when putting down the vinyl.
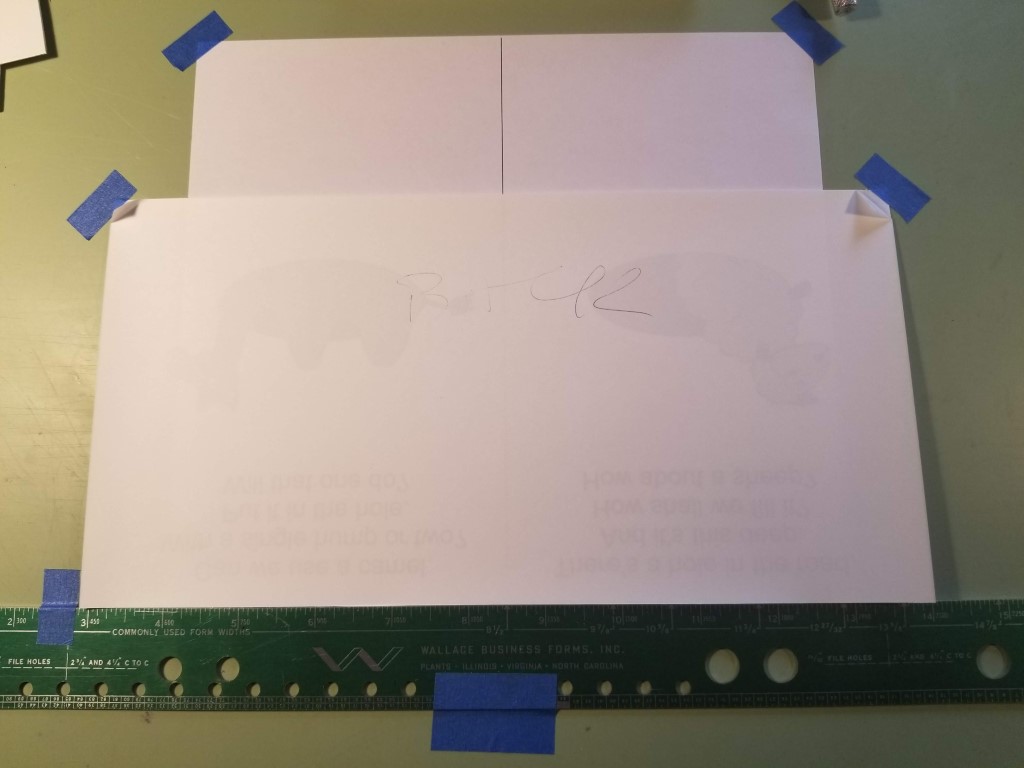 Mounting jig with page
When using self-adhesive vinyl, I could build the entire book at once since there is no drying time for the adhesive unlike I had when using photo paper to boards. To make assembly easier, when attaching to the vinyl I wanted the left and right of the spread to have the same number of boards each time. To achieve that I did three passes, first with one board on the left and right, then two, then four. The first pass did pages 1, 4, 5, 8, 9, 12, and 13 as shown below.
Carefully aligning to the rule (top edge) and the center line, I pressed down the left board on the vinyl. Then again with the right board. Since I was working with the spread upside down and backward, I double and triple-checked to make sure the vinyl and boards were oriented correctly. Once the boards were down I flipped them over and firmly rubbed down the vinyl using a plastic scraper and scrap paper.
To prepare for the next session I trimmed the excess vinyl off the boards and folded the spread making sure the top edges aligned perfectly. This made four stacks of two boards that would be attached together in the next session.
For session two, I repeated the process from session one using the folded boards from that session. For example, I could attach the spread with pages 2 and 3 on the backs of pages 1 and 4. Similarly for pages 10 and 11. This made two stacks four boards thick.
With only one spread left, for the final session I could attach the 6-7 spread on the backs for 5 and 8 from session two. After this session, the book block was complete and just about ready for the cover!
I mentioned grain should run parallel to the spine when building a book. For the photo paper version, I broke that rule since the only way to print a spread was with the grain the long way as you can see here. Vinyl has no grain, so no rules are broken.
Finishing the Block
The vinyl is pretty sticky but can peel off if you work at it. I was worried that the vinyl in the folds may peel up over time making the spine wider and loose. To keep it tight, I glued a piece of rice paper, which is thin and strong, along the spine.
In hindsight I should have made the boards larger than the book to trim them down. For the vinyl version, the edges were a bit rougher than sanding could cure, so I used my homemade press and a chisel to trim down the head, tail, and fore edges. I trimmed off the minimum, so the book is slightly smaller than 5”x5”.
 Left: Block in the press. Right: Chisel cutting the edge
The Cover
Now that the book block was built, I could measure the spine and print out the cover spread. The cover will be made up of the printed vinyl attached to bristol card, which will be glued onto the book block. For the bristol, I printed the registration marks to allow me to accurately score the three folds for the drop spine.
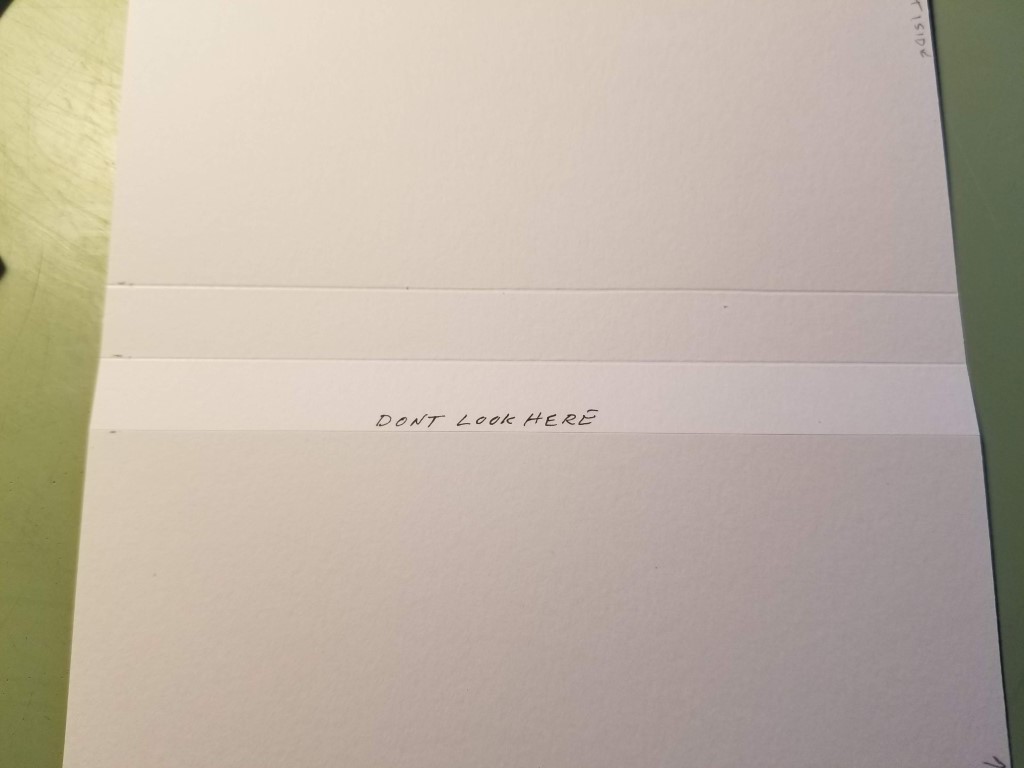 Scored bristol card, with my trademark “DON’T LOOK HERE”
Since the bristol was scored for the folds, I had to align the printed spine precisely on the folds. Here you can see I’ve taped the vinyl on the bristol, lining up the registration marks on the card and vinyl.
 Aligning the vinyl cover
After I finished the book, I noticed that I was missing a mouse on the back cover that accidentally wasn’t in the print. I printed a second vinyl cover and then carefully attached it exactly over the first cover.
Now that I had vinyl-covered bristol for the cover, I was ready for the final assembly step, attaching the cover. As I mentioned above this uses a drop spine cover, so the spine and part of the back can not be glued to the block. The cover hasn’t been trimmed and has registration marks. First I applied glue only to the front and attached the block. Not the line a V’s along the top edge to ensure proper alignment.
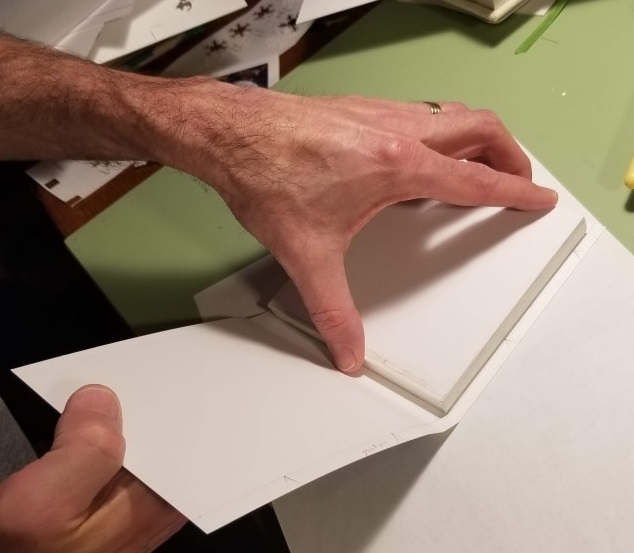 Gluing on the front cover
Working quickly, I used scrap paper as a “guard” to glue the part of the back requiring glue. Then I pressed the cover on the back of the block. This was the first time glue was used for the vinyl book, so I put it under light weight overnight.
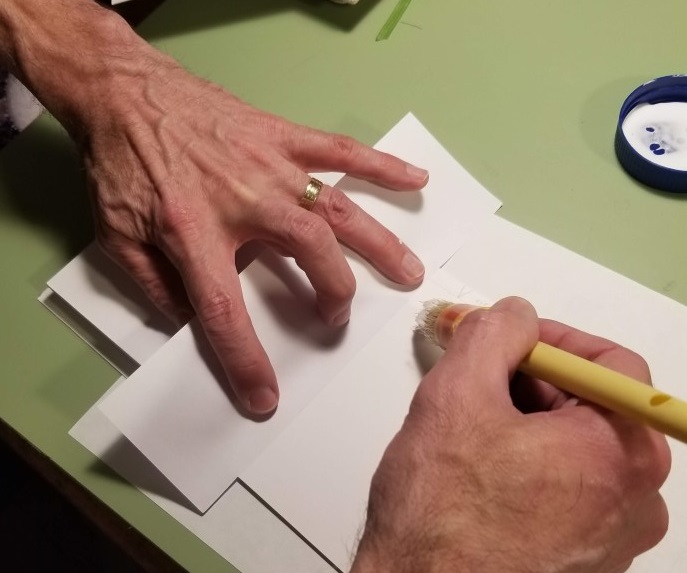 Gluing the back
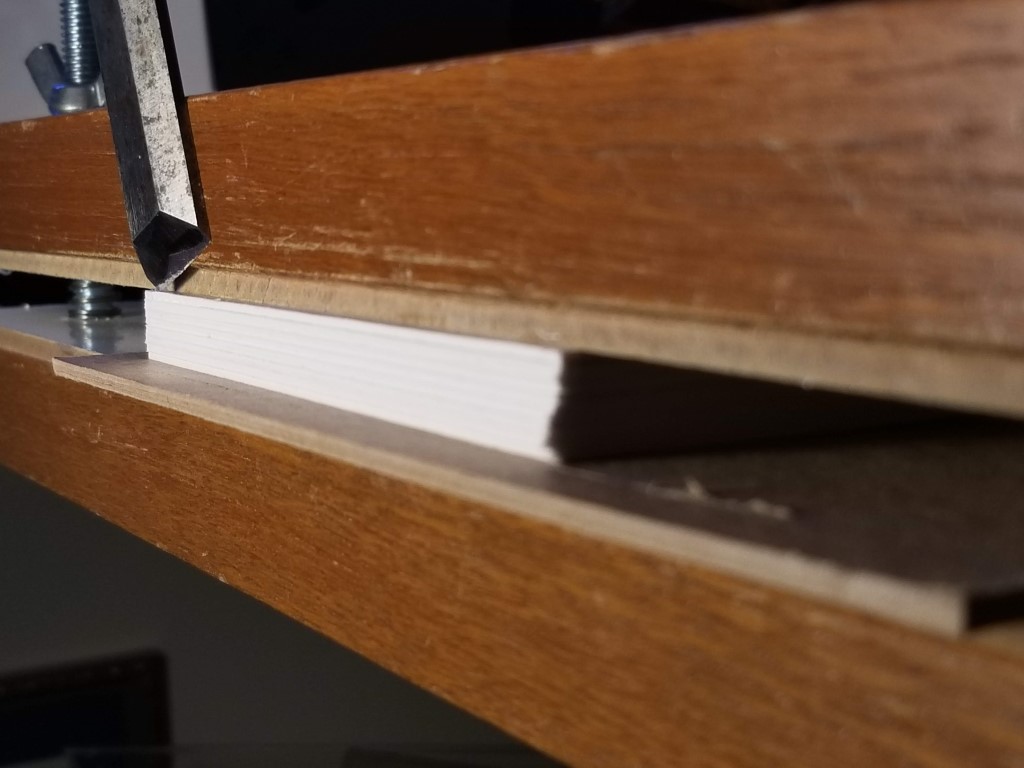
Finishing the Edges
The final step in completing the book was to round the corners. I cut some heavy pasteboard to the shape of the corner, then clamped the book between them. Using a new blade in a utility knife I took my time cutting the corner to match the pasteboard. I always cut from the covers to the center to avoid the chance of splitting.
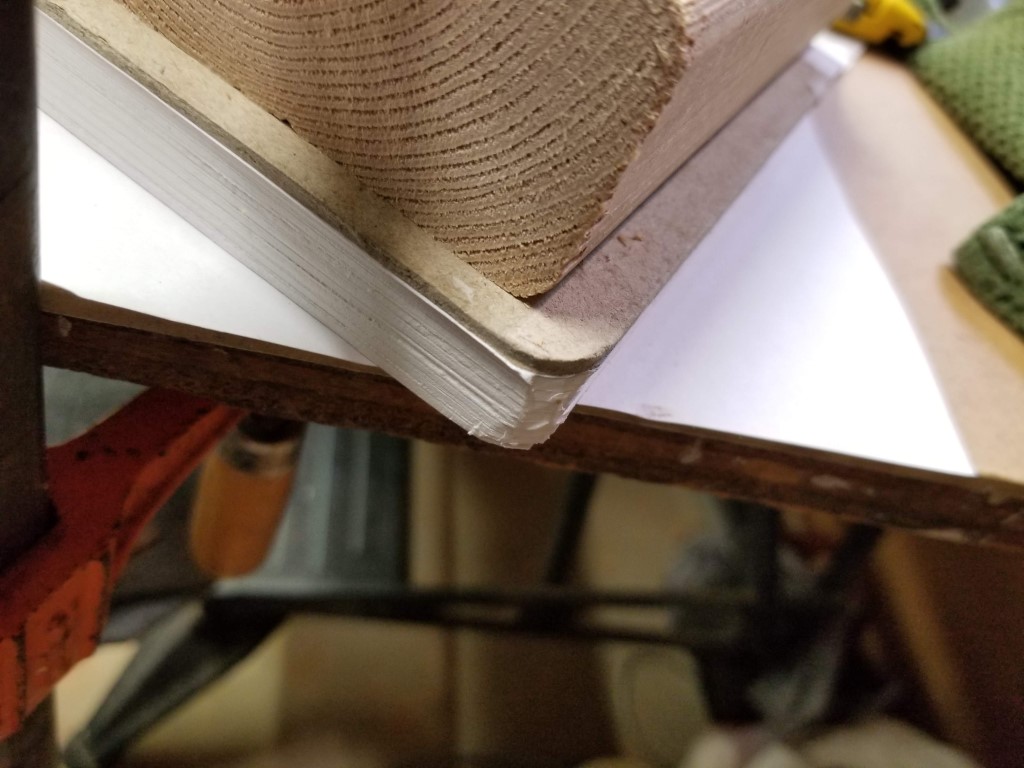 Rounding the corners
Once the corner was close to the correct shape, I used a sanding block to finish it off nice and smooth.
The Presentation
The book was presented to the author on St. Patrick’s Day, 2023.
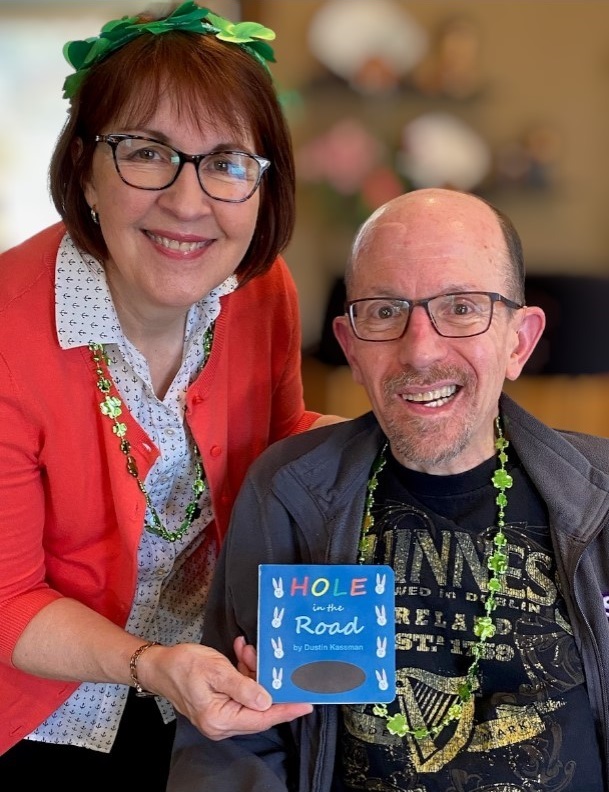 The author, his wife, and the book.
The End
I enjoyed making this board book, and hope you enjoyed reading my journey. I learned quite a bit making this and kept copious notes and many photos to help me with the next time. I made a few mistakes to learn from (more than I’ve admitted here), but that’s all part of the process.
The book was presented to the author March, 2023
I say book, but it really ended up being books:
- 3 small prototypes with boards
- 2 full-size mock-ups for testing assembly
- Tests of various hinges
- A completed photo-paper book
- A completed vinyl book